How To Set iMX8MQ Platform System?
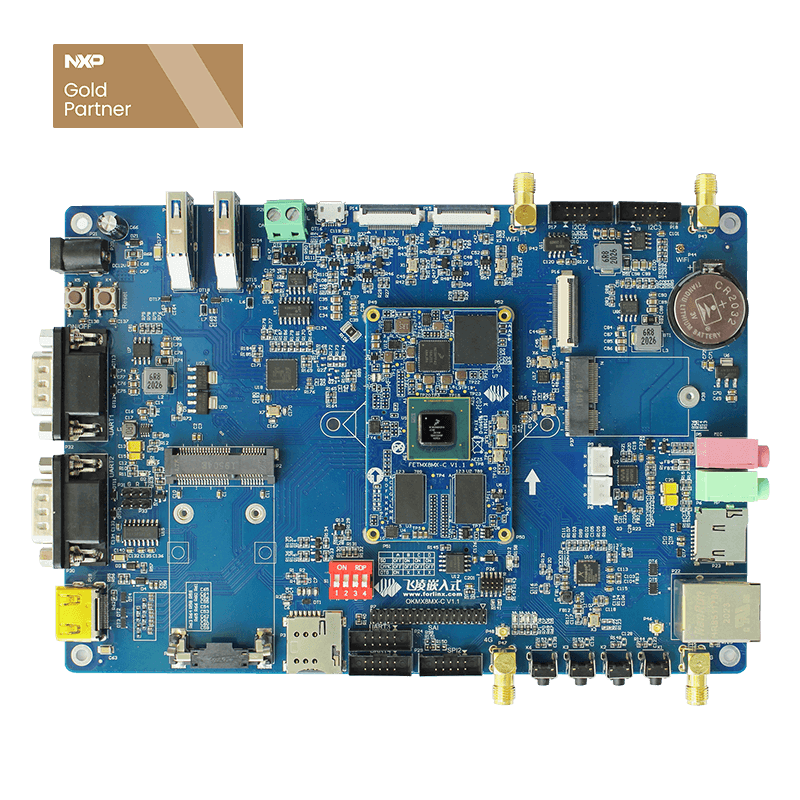
In this paper, the explanation of the hardware platformis based on Forlinx embedded OKMX8MQ-C board linux operating system, other iMX8 products, due to different manufacturers will be different, please refer to the use.
This document mainly explains the OKMX8MQ platform system settings, including LOGO replacement, power-on self-start program settings, Uboot menu selection display, TF card burning add environmental variables, etc. For source images, please download the user profile provided by Forlinx officially.
First, logo replacement
Forlinx iMX8MQ board u-boot phase can display a LOGO picture on the LCD, if you need to replace logo please replace:
OKMX8MQ-linux-SDK/images/boot/logo.bmp
A 24-bit BMP format picture is required with a resolution of 1024x600.
Second, power-on self-start program settings here introduce a way to use systemd to configure any boot self-start program.
For user testing, we start the default load system on the system with the system's default load system service autoun.service, in
/lib/systemd/system/autorun.sevice
You can see the profile:
Users can put their own power-on self-starting application into the script/ETC/autorun .sh for self-starting.
Where the Description parameter represents the description of the service (printed in the power-on terminal), the Execstart parameter represents the absolute path to execute the script, and the default is /etc/autorun .sh file (which the user can modify on his own).
If we start a service that doesn't meet our needs, we can also add the system service ourselves, as in the following example.
Power up the iMX8MQ board, enter into the /home/root/directory in the iMX8MQ board terminal, execute the following command to create a script file, and modify the permissions:
$ echo '#!/bin/sh'&nBSP; >> /home/root/helloworld.sh
$ echo 'gst-play-1.0 /home/forlinx/Audio/test.mp3' >> /home/root/helloworld.sh
$ chmod 777 /home/root/helloworld.sh
Go to the "/lib/systemd/system/" directory and create a new helloworld.service file with the following command:
$ cd /lib/systemd/system
$ vi helloworld.service
The contents of the file are as follows:
[Unit]
Description=helloworld
After=bASIC.service X.service thermal-zone-init.service
[Service]
ExecStart=/home/root/helloworld.sh
[Install]
WantedBy=multi-user.target
Where The Description line needs to write to the service name, ExecStart needs to write the absolute path of the executable.
After saving the exit, execute the following command on the terminal:
$ systemctl -f enable /lib/systemd/system/helloworld.service
The newly added self-starting service can then take effect, and after restarting the imx8MQ board, the program will run automatically and audio output will be heard on the default side.
Third, the display desktop top status bar by default, the weston desktop top display time information status bar is set to hide, if you need it to display, you can follow the following method to set.
If you have the need for a full-screen app display, you can modify it to hide the top status bar as follows. Power on the board, enter the following command in the iMX8MQ board terminal and open weston's profile:
$ vi /etc/xdg/weston/weston.ini
The contents of the modification file are as follows:
[shell]
locking=false
panel-position=top
Fourth, Uboot menu selection display iMX8MQ board power, in the serial debugging terminal input any button, enter the uboot menu options, through the menu to set system options and functions.
Press SPACE to abort autoboot in 1 seconds
## forlinx params set menu ...
--------------------------
0:reboot
1:exit to shell
2:mipi7-lcdif
3:MIPI7-dcss
4:HDMI
--------------------------
Key 0: restart the board;
Key 1: Enter command line mode;
Key 2: Select the display for the 7 inch MIPI screen (1024x600) display controller using LCDIF;
Key 3: Select the display for the 7 inch MIPI screen (1024x600) display controller using display Controller;
Key 4: Select the display as HDMI output.
Note: MIPI7-dcs uses device tree ok8mq-evk-dcs-mipi7.dtb, MIPI7-lcdif and HDMI use device tree ok8mq-evk.dtb.
Fifth, TF card burn write to add environmental variables in the user using TF card burning, you can add the name env .ini text in the TF card, add environment variables in the text, text added environment variables need to be added in accordance with the "environment variable name - environment variable value" format to add, 1 environment variable per behavior. During the burn-write process, the burner reads the environment variables by row, and the format-compliant environment variables are appended to the default environment variables.
Once the burn is complete, the iMX8MQ board writes the default and appended environment variables to the storage media at the first startup, and the appended environment variables overwrite the original environment variable values if they have the same name as the environment variable built into the image.
Example 1: The appended environment variable does not have the same name as the image default environment variable, such as the appended environment variable newenv=123456
A new environment variable, newenv, is added to the environment variable, 123456.
Example 2: The appended environment variable is the same as the image default environment variable name, and the value of the appended environment variable replaces the original value, such as the default bootdelay=1 in the image, and the bootdelay=3 in the appended environment variable, the value of the final environment variable bootdelay =3, replacing the value of the default environment variable in the image.


