5-Minute Guide to Network Service Setup with i.MX9352 and Linux 6.1
In the technological wave of the ''Internet of Everything'', network services have become the core link connecting the physical world and the digital world. They not only endow terminal devices with the ability to ''communicate'', but also shape the development paradigm of intelligent devices.
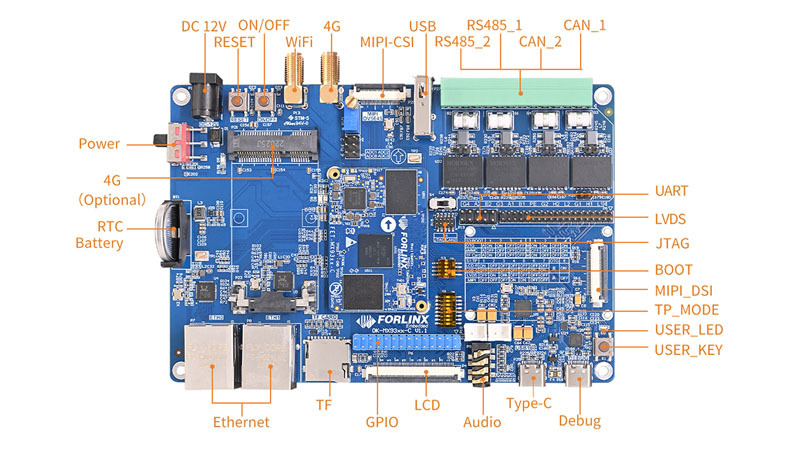
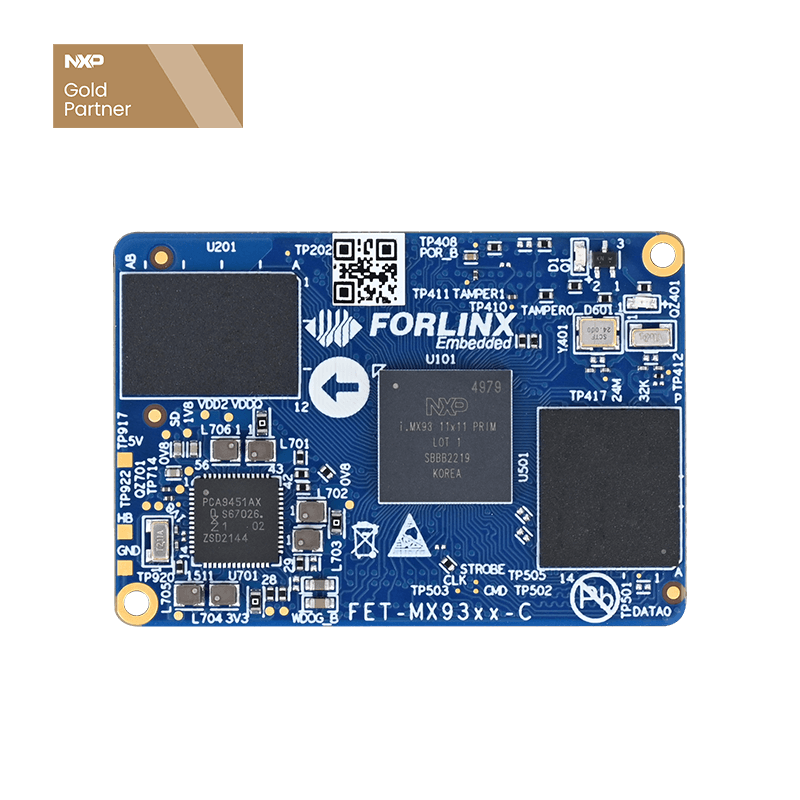
This article will use the Forlinx Embedded OK-MX9352-C development board (equipped with the NXP i.MX9352 processor widely used in the industrial Internet of Things field) as a platform to introduce how to build common network services in the Linux 6.1.36 development environment. Engineers can refer to this article for operation.

1. TFTP service setup
TFTP (Trivial File Transfer Protocol) is a protocol in the TCP/IP protocol suite used for simple file transfer between clients and servers, and is commonly used for kernel debugging. In the process of embedded Linux development, kernel debugging is a fundamental and important part.
1.1 Server, Client Installation, and Daemons
forlinx@ubuntu:~$ sudo apt-get install tftp-hpa tftpd-hpa xinetd
1.2 Server Configuration
First, create a tftpboot in the root directory and change the attributes to read and write for any user:
forlinx@ubuntu:~$ cd /
forlinx@ubuntu:/$ sudo mkdir tftpboot
forlinx@ubuntu:/$ sudo chmod 777 tftpboot
Then, go to the directory /etc/xinetd.d/ and create a new file tftp in it, adding the specified contents to the tftp file:
forlinx@ubuntu:/$ cd /etc/xinetd.d/
forlinx@ubuntu:/etc/xinetd.d$ sudo vim tftp
Add the following to the tftp text.
service tftp
{
disable = no 138
socket_type = dgram
protocol = udp
wait = yes
user = root
server = /usr/sbin/in.tftpd
server_args = -s /tftpboot -c
per_source = 11
cps = 100 2
}
Finally, modify the configuration file /etc/default/tftpd-hpa
forlinx@ubuntu:/etc/xinetd.d$ cd /
forlinx@ubuntu:/$ sudo vim /etc/default/tftpd-hpa
Note that change the ''TFTP _ DIRECTORY'' to the path where you created the new tftpboot directory.
1.3 Services Restart
forlinx@ubuntu:/$ sudo /etc/init.d/xinetd reload
forlinx@ubuntu:/$ sudo /etc/init.d/xinetd restart
forlinx@ubuntu:/$ sudo /etc/init.d/tftpd-hpa restart
1.4 Server Test
To test it, create a new file in the/tftpboot folder:
forlinx@ubuntu:/$ cd /tftpboot/
forlinx@ubuntu:/tftpboot$ sudo touch abc
Go to another folder:
forlinx@ubuntu:/tftpboot$ cd /home/
forlinx@ubuntu:/home$ sudo tftp 192.168.2.57   //192.168.2.57 is the local IP
tftp> get abc
tftp> quit
forlinx@ubuntu:/home$ ls
abc
If the server can be downloaded, it indicates that the server has been installed successfully. Once the development board is connected to the PC using an Ethernet cable, you can utilize TFTP to download files.
bootz ${loadaddr}-${fdt_addr};
2. NFS Service Setup
NFS (Network File System) allows file sharing between different machines and systems through the network. Through NFS, access remote shared directories just like accessing local disks.
2.1 The method for setting up an NFS server on Ubuntu is as follows:
Software download and installation
forlinx@ubuntu:~# sudo apt-get install nfs-kernel-server nfs-common portmap
Create the NFS directory and unzip the file system (for example, rootfs. tar. bz2 file system, the current directory is the root directory)
forlinx@ubuntu:~# cd /
forlinx@ubuntu:/# sudo mkdir nfs_rootfs
forlinx@ubuntu:/# sudo tar -xvf rootfs.tar.bz2 -C /nfs_rootfs/
Modify the configuration file
forlinx@ubuntu:/# sudo vim /etc/exports
Add the following configuration to the file:
/nfs_rootfs *(rw,sync,no_root_squash,no_subtree_check)
Restart configuration files and services
forlinx@ubuntu:/# sudo exportfs -rv
forlinx@ubuntu:/# sudo /etc/init.d/rpcbind restart
forlinx@ubuntu:/# sudo /etc/init.d/nfs-kernel-server restart
2.2 Validating the NFS Server on the i.MX9352 Development Board
Mount the NFS server to the board's/mnt directory after executing the following command
root@ok-mx93:~# mount -t nfs4 -o vers=4 192.168.0.57:/nfs_rootfs /mnt
After successful mounting, check the /mnt directory and you will see the file system you just extracted.
root@ok-mx93:~# ls /mnt/
Note: 192.168.0.57 is the IP of the NFS server host Ubuntu. The Ubuntu network should be set to the bridging mode and be in the same network segment with the i.MX9352 development board.
3. SSH Service Setup
SSH is a relatively reliable protocol specifically designed to provide security for remote login sessions and other network services. By using the SSH protocol, the problem of information leakage during the remote management process can be effectively prevented. Originally, SSH was a program on UNIX systems and later quickly expanded to other operating platforms.
3.1 SSH Installation
Install the SSH service by typing the following command in the Ubuntu (Linux host) terminal:
forlinx@ubuntu:/$ sudo apt-get install ssh
3.2 SSH Enable
forlinx@ubuntu:/$ sudo service ssh start
3.3 Check the status of the SSH service
forlinx@ubuntu:/$ sudo service ssh status
● ssh.service-OpenBSD Secure Shell server
   Loaded: loaded (/lib/systemd/system/ssh.service; enabled; vendor preset: enabled)
   Active: active (running) since Mon 2021-08-23 17:19:57 CST; 45s ago
 Main PID: 7383 (sshd)
    Tasks: 1 (limit: 2292)
   CGroup: /system.slice/ssh.service
           └─7383 /usr/sbin/sshd -D
August 23 17:19:57 ubuntu systemd[1]: Starting OpenBSD Secure Shell server...
August 23 17:19:57 ubuntu sshd[7383]: Server listening on 0.0.0.0 port 22.
August 23 17:19:57 ubuntu sshd[7383]: Server listening on :: port 22.
August 23 17:19:57 ubuntu systemd[1]: Started OpenBSD Secure Shell server.
3.4 SSH Disable
forlinx@ubuntu:/$ sudo service ssh stop
3.5 Test Method
i.MX9352 The development board accesses the Linux host via SSH:
root@ok-mx93:~# ssh [email protected]
Host '192.168.0.57' is not in the trusted hosts file.
(ecdsa-sha2-nistp256 fingerprint md5 07:72:76:56:47:e0:da:5e:77:a2:58:b1:b5:9f:cb:2a)
Do you want to continue connecting? (y/n) y           //On first login, you need to confirm by typing ''y''
[email protected]'s password:                    //Enter the password for the forlinx account
Welcome to Ubuntu 22.04.1 LTS (GNU/Linux 5.15.0-56-generic x86_64)
 * Documentation:  https://help.ubuntu.com
 * Management:     https://landscape.canonical.com
 * Support:        https://ubuntu.com/advantage
0 updates can be applied immediately.
The programs included with the Ubuntu system are free software;
the exact distribution terms for each program are described in the
individual files in /usr/share/doc/*/copyright.
Ubuntu comes with ABSOLUTELY NO WARRANTY, to the extent permitted by
applicable law.
forlinx@ubuntu:~$                       //Confirm successful ssh login by username and hostname
The Linux host logs into the development board via SSH:
forlinx@ubuntu:~$ ssh -oHostKeyAlgorithms=+ssh-rsa [email protected]
The authenticity of host '192.168.0.232 (192.168.0.232)' can't be established.
RSA key fingerprint is SHA256:fsa3SVdSPDtCMacfd8PjHF1RIPsnXB22gKS97qJpwys.
This key is not known by any other names
Are you sure you want to continue connecting (yes/no/[fingerprint])? yes //Confirmation is required for first time login, enter yes
Warning: Permanently added '192.168.0.232' (RSA) to the list of known hosts.
root@ok-mx93:~#                     //Confirm successful ssh login by username and hostname
The above is the method for completing the network service setup on the Linux 6.1.36 system of the Forlinx Embedded OK-MX9352-C development board. I hope it will be helpful to all engineer friends. It should be noted that the operation methods in this article are applicable to the Linux 6.1.36 operating system on the Forlinx Embedded OK-MX9352-C platform. There may be differences on other platforms, and the methods in this article are only for reference.


