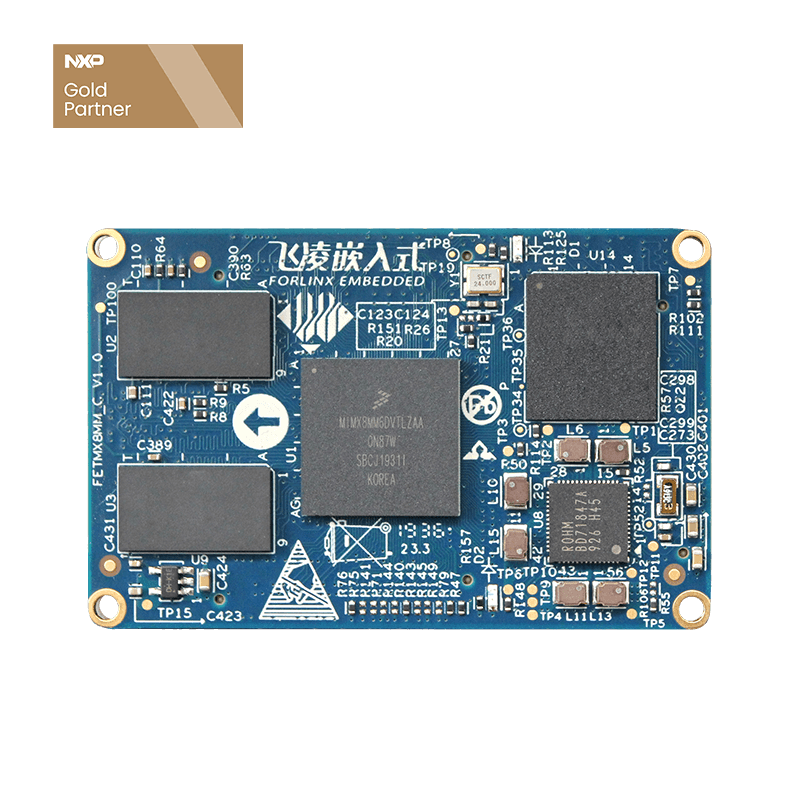
How Custom Display in Uboot for i.MX8MM Core Board
1. i.MX8MM Display Structure
i.MX8M Mini has one MIPI_DSI, below is the block diagram
2. Display Configuration
Firstly, we need initialize LCDif and MIPI_DSI, the complete drive is integrated into uboot, so we just need configure variable panel, choose current display device according to device name matched with panel value. For example, if the panel value is MIPI7, you will find the display device named MIPI7 in diplay list. It is the 7'' MIPI display supported by default, we can see the device name and detailed parameters from below image.
If users want to add a new display, just take display datasheet and extra add a set of display parameters, set panel, appoint to use the added parameters(note: this is only for MIPI display that doesn't need initialization). As Forlinx uboot is not open, users can not do any change to source code, thus users can not add any display parameters. So here we introduce a solution to solve this problem. Forlinx provides a set of parameters, then users can change display parameters by environmental variable. It's named as MIPI_CUSTOM, users just need set panel to MIPI_CUSTOM to appoint it. Here below are the default values.
But how to change the parameters? As we know that it's not available for any change or modification, we do some special operations. If it's detected that custom_video_mode is not empty, it will analysis custom_video_mode, and replace the display parameters to default parameters.
How to assure custom parameters
Take the custom parameters to replace default parameters
3. Test
Restart development board, press space key at uboot stage to get uboot menu, press 1, and quit the menu to get into command line mode
Then, set panel value to MIPI_CUSTOM, set custom_video_mode values including refresh,xres,yres,pixclock,left_margin,right_margin,upper_margin,lower_margin,hsync_len,vsync_len.
Below example for reference.
Target display: 800x 1280
refresh=60,xres=800,yres=1280,pixclock=20000,left_margin=32,right_margin=20,upper_margin=8,lower_margin=4,hsync_len=40,vsync_len=1
note: clock is time value in unit of picosecond.
execute below command
set panel value to MIPI_CUSTOM
setenv panel MIPI_CUSTOM
set custom parameters
setenv custom_video_mode
refresh=60,xres=800,yres=1280,pixclock=20000,left_margin=32,right_margin=20,upper_margin=8,lower_margin=4,hsync_len=40,vsync_len=1
save environmental variable
saveemv
restart the board to validate the parameters
4. Mass Flashing
Flash the prepared variable to device by Micro SD card.
How append uboot variable
1) Create a file in PC and name it env.ini. One variable one line, and variable in form of variable name=variable value
2) add the above tested variable to env.ini, one variable one line.
example
Line 1: panel =MIPI_CUSTOM
Line 2: custom_video_mode=refresh=60,xres=800,yres=1280,pixclock=20000,left_margin=32,right_margin=20,upper_margin=8,lower_margin=4,hsync_len=40,vsync_len=1
3) Put the final env.ini to prepared Micro SD card to flash it to board. At last, restart board to check whether it works.