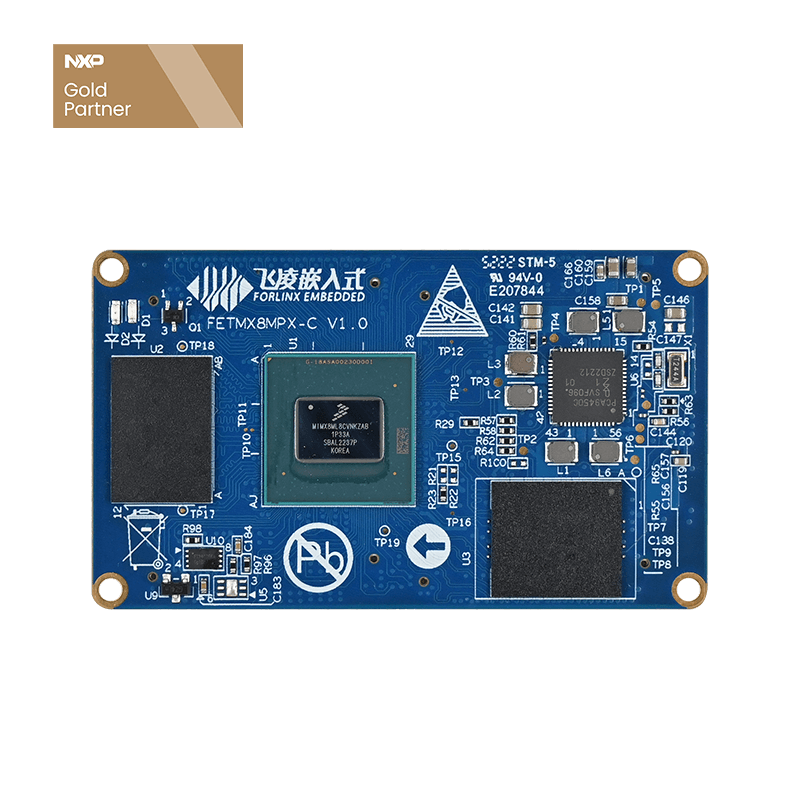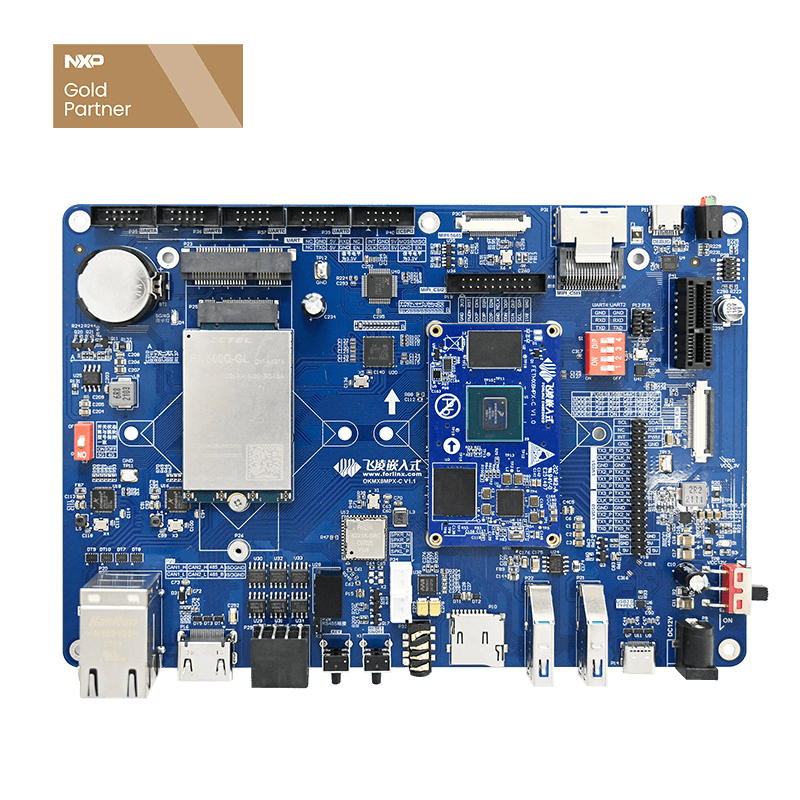
Guide to OTA System Upgrade for Forlinx OKMX8MP-C Development Board on Linux 5.4.70
OTA is a method that enables lossless system upgrades for devices, allowing new features to be remotely deployed on products. The OTA upgrade package can not only be downloaded via the network but also used to upgrade the device after being downloaded to an SD card or a USB flash drive.
This article will introduce the specific implementation method of using OTA to upgrade the system on the Linux 5.4.70 system through the Forlinx Embedded OKMX8MP-C development board.
1. Environment Setup
1.1 Download the 22.04 Image of the Compilation Environment
Since RAUC version 1.6 is required, the 22.04 ISO image needs to be downloaded.
Download URL: https://mirrors.tuna.tsinghua.edu.cn/ubuntu-releases/22.04/
1.2 Modify the GCC Version of the Development Environment
1.2.1 Modify the apt Source
sudo gedit /etc/apt/sources.list
1.2.2 Add the Source at the End of the File
deb [arch=amd64] http://archive.ubuntu.com/ubuntu focal main universe
1.2.3 Update the source
sudo apt update
1.2.4 Install GCC
sudo apt install gcc-7 g++-7
1.2.5 Back up the original GCC and G + +
sudo mv /usr/bin/gcc /usr/bin/gcc.bak
sudo mv /usr/bin/g++ /usr/bin/g++.bak
1.2.6 Link to gcc-7
sudo ln -s /usr/bin/gcc-7 /usr/bin/gcc
sudo ln -s /usr/bin/g++-7 /usr/bin/g++
1.2.7 Install and test
gcc --version
g++ --version
GCC test run results:
G + + test run results:
1.3 Install the rauc tool
sudo apt install rauc
2. Source code configuration
2.1 EMMC partition
Need to modify the source code OK8MP-linux-fs/rootfs/etc/init.d/Init.sh
#! /bin/sh


	## add forlinx user
useradd -k /etc/skel -m -U forlinx -s /bin/bash
passwd forlinx <<EOM
forlinx
forlinx
EOM
DEVICE="/dev/mmcblk2"
# Create the partition
fdisk $DEVICE <<EOF
n
p
3
13818240
13988608
t
3
c
n
p
4
13988609
30589000
w
EOF
# Refresh the partition table
partprobe
# Output partition information
lsblk $DEVICE
resize2fs /dev/mmcblk2p2
/usr/bin/fltest_runRefreshMatrix.sh
## delete Init.sh
sed -i "s/\/etc\/init.d\/Init.sh//g" /etc/rc.local
rm -f /etc/init.d/Init.sh
sync
2.2 Decompression of rauc and dependent tools
(1)Decompress under liblz4.tar.bz2在/OK8MP-linux-sdk/OK8MP-linux-fs/rootfs/usr/lib
tar -xvf liblz4.tar.bz2
(2)Decompress fw_setenv.tar.b z2 under /OK8MP-linux-sdk/OK8MP-linux-fs/rootfs
tar -xvf fw_setenv.tar.bz2
(3)Decompress unsquashfs.tar.bz2 under /OK8MP-linux-sdk/OK8MP-linux-fs/rootfs
tar -xvf unsquashfs.tar.bz2
(4)Decompress yocto-rauc-1.5.1.tar.bz2 under /OK8MP-linux-sdk/OK8MP-linux-fs/rootfs
tar -xvf yocto-rauc-1.5.1.tar.bz2
2.3 Modifying the tool configuration
2.3.1 Modify the fw_env.config to specify the env base addr
/OK8MP-linux-sdk/OK8MP-linux-fs/rootfs/etc/fw_env.config
gedit fw_env.config
Delete the original content and only add:
/dev/mmcblk2 0x400000 0x2000
2.3.2 Modify the rauc configuration file
/OK8MP-linux-sdk/OK8MP-linux-fs/rootfs/etc/rauc/system.conf
gedit system.conf
Note: It is necessary to ensure that the compatibility is consistent with that in the upgrade package and that the partition contents are correct.
2.3.3 Modify the compilation script
forlinx@ubuntu:~/OK8MP-linux-sdk$ gedit tools/fakeroot.fs
This part of the script needs to be commented out:
2.3.4 Modify the mount configuration file
forlinx@ubuntu:~/OK8MP-linux-sdk/OK8MP-linux-fs/rootfs/etc$ gedit fstab
Modify OK8MP-linux-fs/rootfs/etc/fstab as follows:
/dev/mmcblk2p3    /run/media/mmcblk2p3  auto       defaults,sync,noauto  0   0
/dev/mmcblk2p4    /run/media/mmcblk2p4  auto       defaults,sync,noauto  0   0
Note: The main purpose here is to prevent the service from automatically mounting the partition and causing the upgrade time partition to be already mounted.
3. Generate an upgrade package
3.1 Full compilation to obtain the required image
forlinx@ubuntu:~/OK8MP-linux-sdk$ . /opt/fsl-imx-xwayland/5.4-zeus/environment-set\up-aarch64-poky-linux
forlinx@ubuntu:~/OK8MP-linux-sdk$ . environment-setup-aarch64-poky-linux
forlinx@ubuntu:~/OK8MP-linux-sdk$ ./build.sh all
3.2 Copy the image and key file
Create the rauc folder
forlinx@ubuntu:~$ mkdir rauc
Create the build and bundle folders under the rauc folder
forlinx@ubuntu:~/rauc$ mkdir build
forlinx@ubuntu:~/rauc$ mkdir bundle
Copy the boot. img generated by compiling under images and rootfs.ext4 to the folder of bundleExtract the key file that provides the test to the rauc folder
forlinx@ubuntu:~/rauc$ tar -xvf key.tar.bz2
3.3 Create upgrade package configuration file
Create manifest. raucm upgrade package configuration files in the bundle folder
forlinx@ubuntu:~/rauc/bundle$ gedit manifest.raucm
The contents are:
[update]
compatible=forlinx-imx8mp
version=r0
description=rauc bundle based on Forlinx-LINUX-5.4.70
build=20240306
[image.rootfs]
filename=rootfs.ext4
[image.boot]
filename=boot.img
3.4 Make upgrade package
Create the script package
forlinx@ubuntu:~/rauc$ gedit run.do_bundle.sh
The contents are:
#!/bin/sh
if [ -e build/bundle.raucb ]; then
rm build/bundle.raucb
echo "---------------------rm old bundle.raucb-------------------------"
fi
rauc  bundle --debug --cert="development-1.cert.pem" --key="development-1.key.pem"  bundle    build/bundle.raucb
Give the scripts executable permissions:
forlinx@ubuntu:~/rauc$ chmod 777 run.do_bundle.sh
Generate an upgrade package
forlinx@ubuntu:~/rauc$ ./run.do_bundle.sh
The bundle. raucb upgrade package is generated under the build folder.
Note: Pass the bundle. raucb upgrade package to the ext4 partition of the development board, in case of permission problems.
4. System Upgrade
4.1 View system status and upgrade
(1) View compressed package information
(2) View system status
root@OK8MP:~# rauc status
(3) System upgrade
root@OK8MP:~# rauc install bundle.raucb
4.2 Switch the boot partition
View uboot environment variable
root@OK8MP:~# fw_printenv
Configure to start from systme _ 1
root@OK8MP:~# fw_setenv doraucboot 1
root@OK8MP:~# sync
root@OK8MP:~# reboot
View system status after reboot
root@OK8MP:~# rauc status
5. Rollback version
5.1 Reconfigure to system _ 0 boot
root@OK8MP:~# fw_setenv doraucboot 0
root@OK8MP:~# fw_printenv               //Print environment variables
root@OK8MP:~# sync
root@OK8MP:~# reboot
The rauc is upgraded to the alternate replacement of two systems. When upgrading, be sure to pay attention to the partition currently booted by uboot.


