
OK1126B-S 6.1.141 Buildroot Adaptation for OV13855
Quick Verification
For customers who want to quickly verify the functionality, a test kernel and deployment method are provided here. (For testing purposes only; subsequent development still requires self-compilation.)
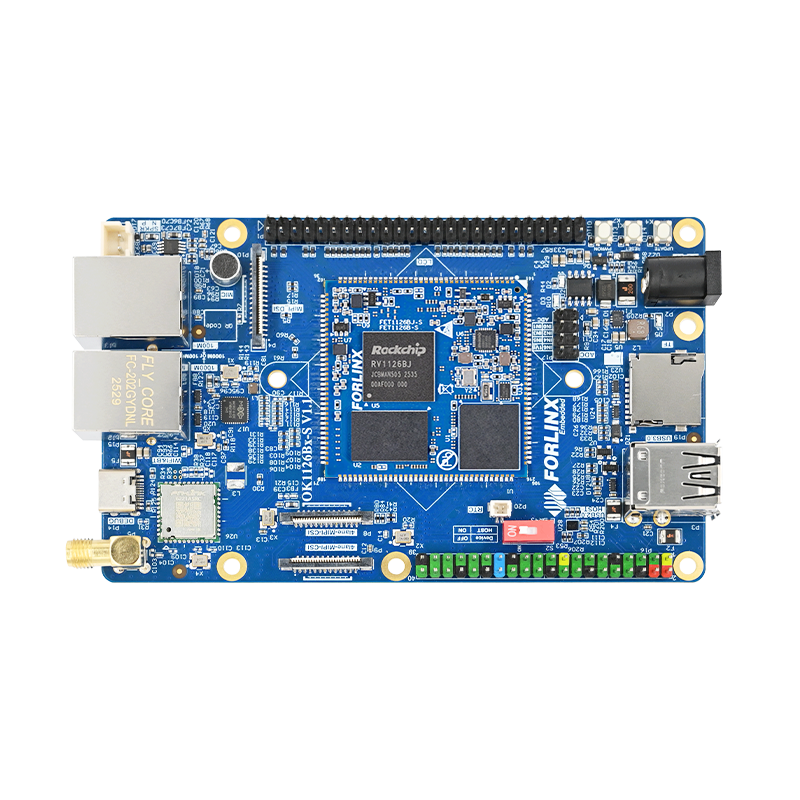
The outer MIPI port of the development board corresponds to the device node /dev/video23.
The inner MIPI port of the development board corresponds to the device node /dev/video31.
Refer to the user manual for step-by-step kernel image flashing. You can directly click the link below to jump to the relevant section:
6.1.3 OTG Step-by-step Flashing Test
Place the IQ file ov13855_CMK-OT2016-FV1_default.json in the /etc/iqfiles directory of the development board’s filesystem.
The kernel image boot.img and IQ file ov13855_CMK-OT2016-FV1_default.json can be obtained from the attachments.
1.Kernel configuration
Ensure the kernel includes the following configurations. If they are missing, add them:
Kernel configuration file path: kernel/arch/arm64/configs/OK1126B-S-linux_defconfig
  CONFIG_VIDEO_OV13855=y
  CONFIG_VIDEO_DW9763=y
  CONFIG_VIDEO_TECHPOINT=y
Copy the diff file from the attachments to the SDK’s kernel directory.
Then, execute the following command in the SDK’s kernel directory to apply the corresponding patch:
patch -p1 < ov13855_tp2855.diff
Recompile the kernel image and flash it to the development board.
Refer to the user manual for step-by-step kernel image flashing. You can directly click the link below to jump to the relevant section:
6.1.3 OTG Step-by-step Flashing Test
2. Filesystem
The attachment provides the IQ file for OV13855: ov13855_CMK-OT2016-FV1_default.json.
Place this file in the /etc/iqfiles directory of the development board’s filesystem and check if the rkaiq process is running:
  root@OK1126B-buildroot:~# ps -ef | grep rkaiq
  root 1042 1 0 Jan24 ? 00:00:00 /bin/sh -c /usr/bin/rkaiq_3A_server 2>&1 | logger -t rkaiq_3A
  root 1044 1042 0 Jan24 ? 00:00:01 /usr/bin/rkaiq_3A_server
  root 1045 1042 0 Jan24 ? 00:00:00 logger -t rkaiq_3A
  root 1923 1075 0 00:23 ttyFIQ0 00:00:00 grep --color=auto rkaiq
If the process is not running, you need to start the rkaiq process.
root@OK1126B-buildroot:~# /etc/init.d/S40rkaiq_3A start
Note: When executing the following statements, the OV13855 camera must be connected to the 4-lane MIPI-CSI interface on the outer side of the development board (P9), otherwise the process will not be visible.
3. Camera Testing
Check the device node:
v4l2-ctl --list-devices
After running the command, the output should include the following segment:
  rkisp_mainpath (platform:rkisp-vir0):
  /dev/video23
  /dev/video24
  /dev/video25
  /dev/video26
  /dev/video27
  /dev/video30
  /dev/media3

  rkisp_mainpath (platform:rkisp-vir1):
  /dev/video31
  /dev/video32
  /dev/video33
  /dev/video34
  /dev/video35
  /dev/video38
  /dev/media4
Among them, /dev/video23 and /dev/video31 represent the external camera (P9) and the internal camera (P8) respectively.
The following steps use /dev/video23 as an example.
Check Supported Formats and Resolutions
v4l2-ctl --list-formats-ext -d /dev/video23
Camera Preview
gst-launch-1.0 v4l2src device=/dev/video23 ! video/x-raw, format=NV12, width=640, height=480, framerate=30/1 ! waylandsink
Camera Capture
gst-launch-1.0 v4l2src device=/dev/video23 num-buffers=1 ! video/x-raw,format=NV12,width=640,height=480 ! mppjpegenc ! filesink location=pic.jpg
Check whether pic.jpg is generated. You can copy it to a PC for viewing.
Record H.264 Video
gst-launch-1.0 v4l2src device=/dev/video23 num-buffers=100 ! video/x-raw,format=NV12, width=640,height=480 ! tee name=t ! queue ! mpph264enc ! queue ! h264parse ! qtmux ! filesink location=13855_h264.mp4 t. ! queue ! waylandsink
Play H.264 Video
gst-launch-1.0 filesrc location=13855_h264.mp4 ! qtdemux ! queue ! h264parse ! mppvideodec ! waylandsink
4. Attachments Download
Please click the link below to acquire the kernel image, IQ configuration file, and diff patch required for the OV13855 camera module verification: