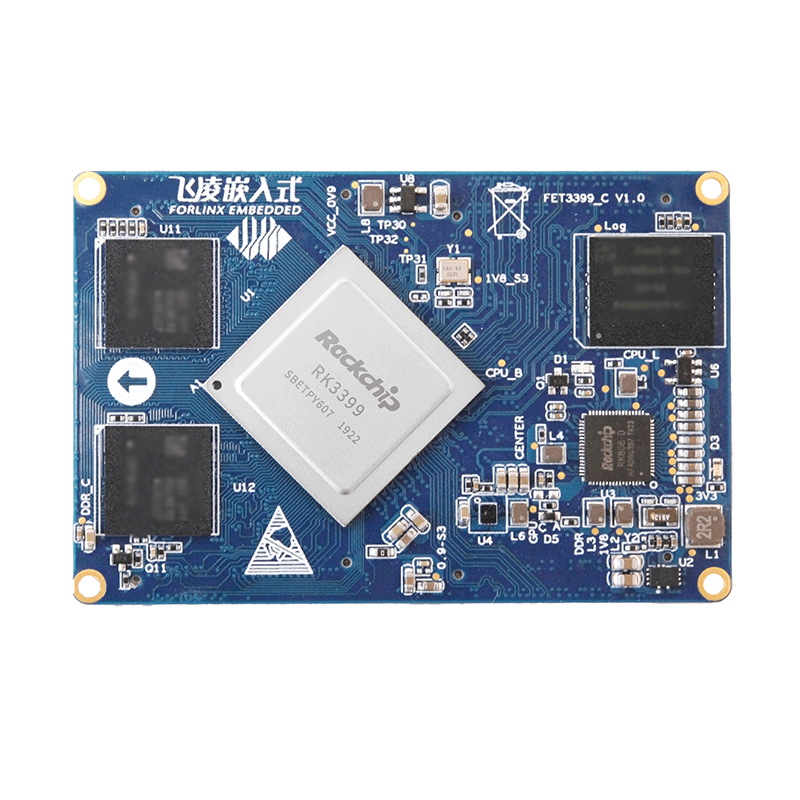
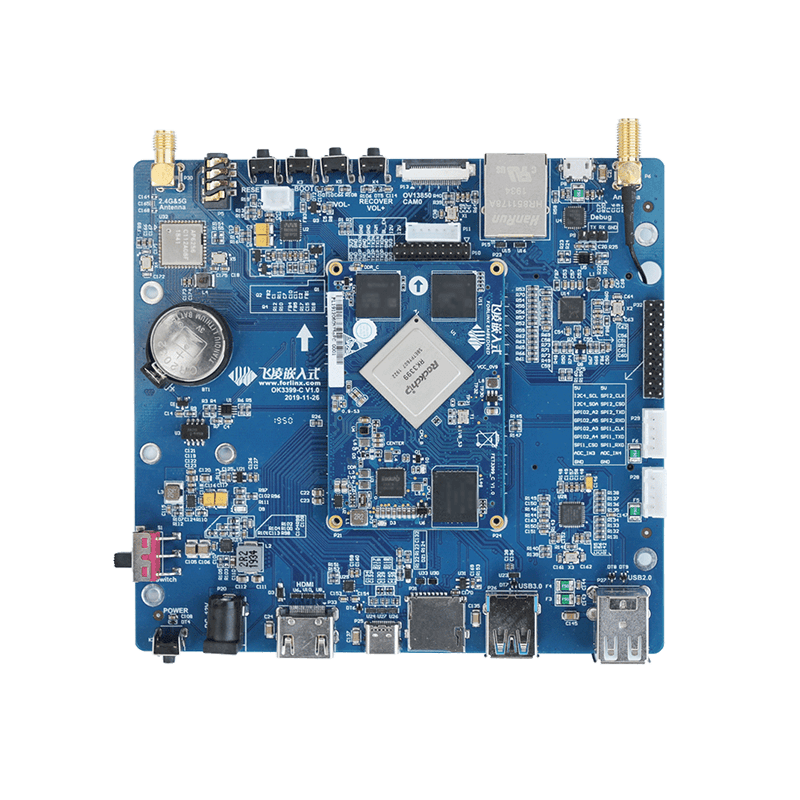
Approach Triple Displays(Dual MIPI DSI CRT and One HDMI) by RK3399 Board
VOP
LCD Controller of Rockchip is called VOP(Video Output Processor), it integrates with 1~2 VOP. Only the chip which has two VOP can support dual-screen playing asynchronously.
RK3399 has two VOP, VOPB(4096x2160) and VOPL(2560x1600), so when applications need resolution above 2560x1600, we can only take VOPB for input.
MIPI-DSI
RK3399 VOP can support both single-channel MIPI DSI and dual-channel MIPI DSI. 4 lanes for half of the single-channel MIPI DSI and 8 lanes for dual-channel MIPI DSI.
1) Single-channel
① standard dual-channel MIPI DSI
② connected with two same displays to combine dual-channel MIPI DSI, panel0 for left part screen and panel1 for the right part.
CRT by Dual MIPI DSI
VOP of RK3399 can support dual-MIPI channels, so we can approach CRT solution. Here we choose two MIPI DSI modules to do CRT, resolution of the two screens are both 1080* 1920, and both VOP BIG output.
Change Software
reset pin time-sequence control
According to the datasheet, reset pin should be pulled up and then pulled down to keep tRESW time, then pulled up again to keep tREST time, display controller gets into Initial Condition, now we can write initial sequence. Before doing this, please firstly confirm reset pin time sequence.
reset pin control sequence
fdtdec_set_gpio(&panel->reset_gpio, 1);
		msleep(panel->delay_init);
		fdtdec_set_gpio(&panel->reset_gpio, 0);
		msleep(panel->delay_reset);
		fdtdec_set_gpio(&panel->reset_gpio, 1);
		msleep(panel->delay_enable);
Initialization Sequence
configure initialization sequence of your MIPI DSI in device tree, and configure panel-init-sequence in DSI node.
&dsi {
	panel@0{
		panel-init-sequence = [
			39 10 04 B9 FF 83 99
			39 10 10 B1 02 04 6D 8D 01 32 33 11 11 5A 5F 56 73 02 02
			39 10 0C B2 00 80 80 AE 05 07 5A 11 10 10 00
			...
			15 10 02 D0 39
			15 64 02 11 00
			15 64 02 29 00
		];
	};
};
command analysis
39 10 04 B9 FF 83 99
Data Type:0x39 (DCS Long Write)
Delay:0x10 (16 ms)
Payload Length:0x04 (4 Bytes)
Payload:0xB9 0xFF 0x83 0x99
the first 3 bytes of the command are command form, and 'B9 FF 83 99' is the order to be transferred.
B9 is the order to be written, 'FF 83 99' are the 3 parameters at the end of the order.
Set clock
&dsi {
	panel@0{
 		display-timings {
 			native-mode = <&timing0>;
			timing0: timing0 {
				clock-frequency = <120000000>;
				hactive = <1080>;
				vactive = <1920>;
				hback-porch = <32>;
				hfront-porch = <32>;
				vback-porch = <10>;
				vfront-porch = <8>;
				hsync-len = <32>;  vsync-len = <4>;
				hsync-active = <0>;
				vsync-active = <0>;
				de-active = <0>;
				pixelclk-active = <0>;
			};
		};
	};
};
setting done, then we can see one MIPI DSI can play very well, then we need set the other one.
dual-channel
enable dsi1 node, set property of 'rockchip,dual-channel' and 'dsi,lanes'.
Add horizontal playing related parameters to double, and set clock frequency also to double.
&dsi {
	status = "okay";
	rockchip,dual-channel = <&dsi1>;

	panel@0{
		dsi,lanes = <8>;
		display-timings {
			native-mode = <&timing1>;
			timing1: timing1 {
				clock-frequency = <240000000>;
				hactive = <2160>;
				vactive = <1920>;
				hback-porch = <64>;
				hfront-porch = <64>;
				vback-porch = <10>;
				vfront-porch = <8>;
				hsync-len = <64>;
				vsync-len = <4>;
				hsync-active = <0>;
				vsync-active = <0>;
				de-active = <0>;
				pixelclk-active = <0>;
			};
		};
	};
};
&dsi1 {
	status = "okay";
};
then two MIPI DSI can both work as below.
Two MIPI DSI are both VOP BIG, VOP LITTLE can support one more HDMI display. Display mode as follows