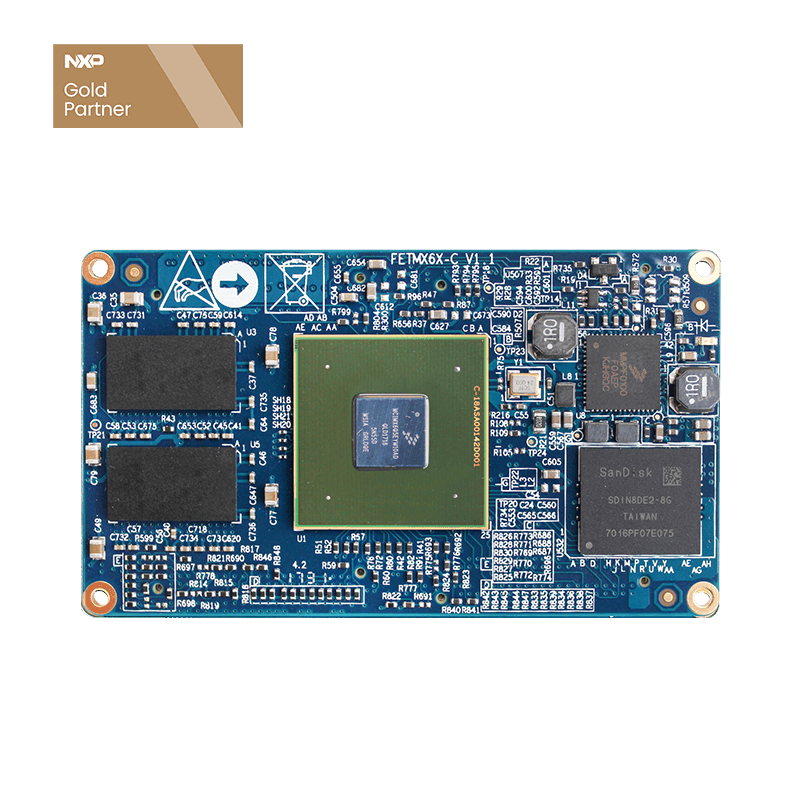
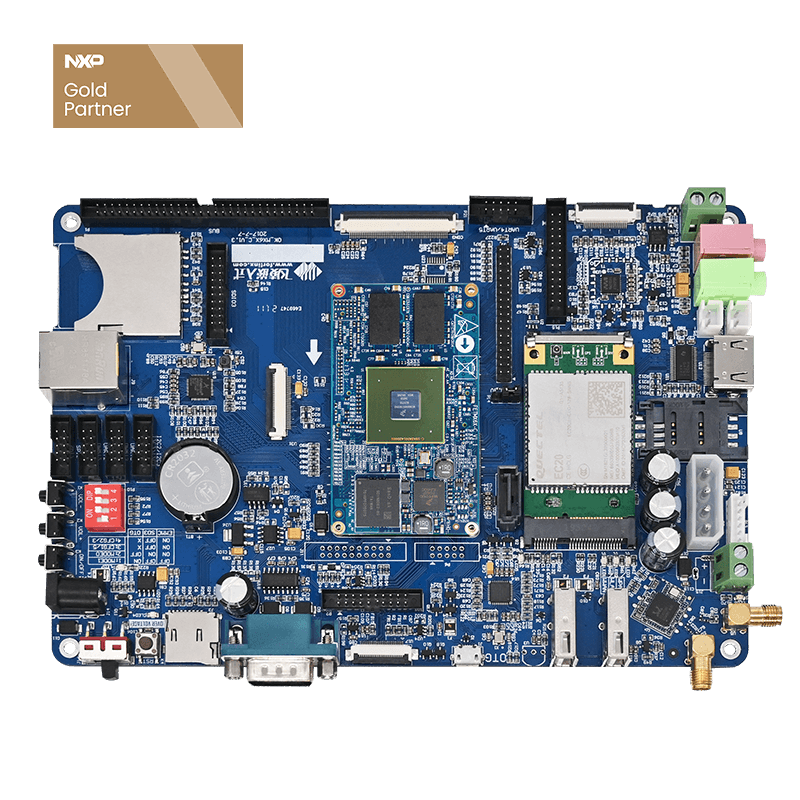
iMX6 Development Board RTL8188cus Chip USB WIFI Use
The test program used in the test in this section has been integrated in the Demo provided by the Forlinx imx6 development board, so there is no description of the file source, and the command operation is performed directly.
USB WIFI wireless LAN card is an optional module.
The iMX6 development board supports the rtl8188cus chip, the available module model is tp-link tl-wn725n 1.1, and the available module model is tp-link tl-wn725n 1.0 EP-N8508GS.
- Step 1: Power off the development board, connect the Forlinx USB WIFI to the USB host interface of the Forlinx development board, and install it correctly as shown above.
- Step 2: Power on the development board and start the Linux system.
- Step 3: Uninstall the inserted 8743au module and install the rtl8188cus USB wifi driver module rtl8192cu.
View inserted modules
root@freescale ~$ lsmod
Module                  Size  Used by
8723au                992806  0
Uninstall modules that have been added to the kernel
root@freescale ~$ rmmod 8743au
root@freescale ~$ cd /lib/modules/wifi/
root@freescale /lib/modules/wifi$ insmod 8192cu.ko
root@freescale ~$ lsmod
Module                  Size  Used by
8192cu                643995  0
root@freescale ~$ifconfig wlan0
Serial port information:
root@freescale /lib/modules/wifi$ ifconfig wlan0
wlan0   Link encap: Ethernet  HWaddr E8:4E:06:13:0F:E8
           BROADCAST MULTICAST  MTU:1500  Metric:1
           RX packets:0 errors:0 dropped:0 overruns:0 frame:0
           TX packets:0 errors:0 dropped:0 overruns:0 carrier:0
           collisions:0 txqueuelen:1000
           RX bytes:0 (0.0 B)  TX bytes:0 (0.0 B)
root@freescale ~$ifconfig eth0 down
root@freescale ~$ifconfig wlan0 up
 root@freescale ~$ iwlist wlan0 scan
          Cell 04 - Address: 00:21:27:65:77:5E
                    ESSID:"devnet"
                    Protocol:IEEE 802.11bg
                    Mode: Master
                    Frequency:2.437 GHz (Channel 6)
                    Encryption key: on
                    Bit Rates:54 Mb/s
                    Quality=20/100  Signal level=87/100
#ifconfig wlan0 192.168.0.232
#iwconfig wlan0 essid "devnet"
#iwconfig wlan0 key "123456789"
#route add default gw 192.168.0.201
Automatic ip address assignment dhcp.
# udhcpc -iwlan0
#ping 192.168.0.201
Note: An example of routing with a USB WIFI connection. Due to different network environments, please set according to the actual situation when you do this experiment.