Android Image Version Update of RK3399 SBC
The hardware platform of this article is based on Forlinx OK3399-C Single Board Computer(SBC). Other RK3399 products maybe different due to the different settings of each manufacturer. This is for reference only. Here mainly introduces OTA methods. It will help you quickly understand the two methods to upgrade android image version of RK3399 platform: local OTA upgrade, remote OTA upgrade, and OTA upgrade package compilation process.
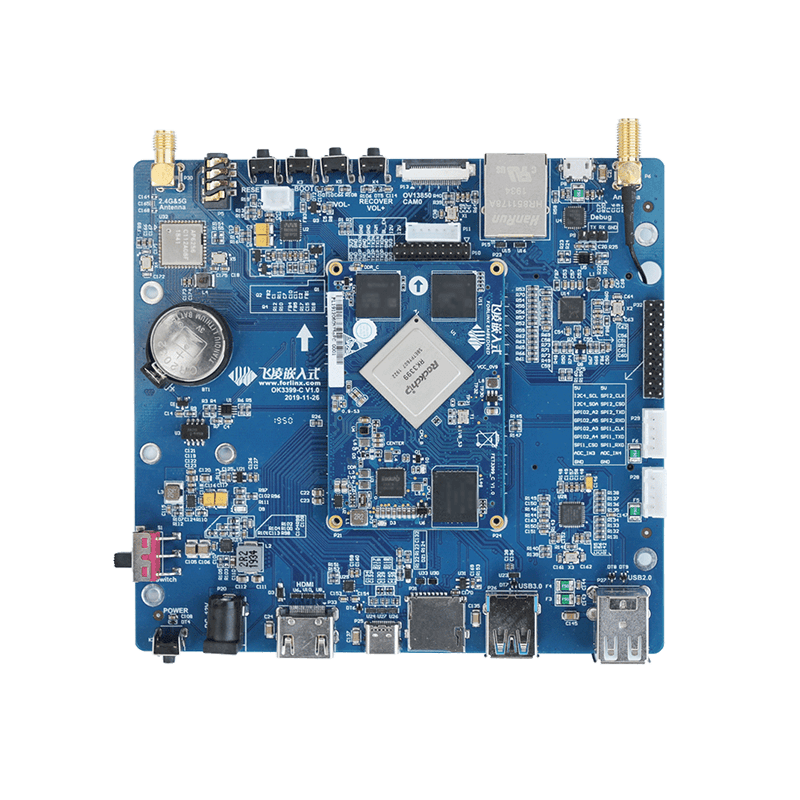
OTA test on Forlinx RK3399 SBC
OTA (over the air) upgrade is the standard software upgrade method of Android. It is a powerful function which provides complete upgrade mode(complete package) and incremental upgrade mode (differential package), and upgrade locally or through network.
Note: The packaging method of OTA image is different from that of rk update.img. There is no separate kernel partition, and the kernel device tree is in boot.img. Therefore, if use OTA upgrade, it need to ensure that the image in the current system is also packaged in OTA mode.
Section 1 Compile OTA upgrade package
This part will compile three versions of android image, V1.0.0, V1.0.1, and V1.0.2. The V1.0.0 version is the basic version for burn into Forlinx OK3399-C Single Board Computer. V.1.0.0 to V1.0.1 will use complete upgrade mode. V1.0.1 upgrade to V1.0.2 will use incremental upgrade mode.
View device/rockchip/rk3399/BoardConfig.mk
Confirm that the current version is 1.0.0. Modify ro.product.ota.host to the Linux host address used for OTA upgrade server, and 8888 is the port number (refer to the following for server construction).
1. Compile V1.0.0 image
lunch rk3399_all-userdebug
rm out/target/product/rk3399_all/system/build.prop
make -j4
./mkimage.sh ota
Backup the image under rockdev/Image-rk3399_al
mkdir images_v1.0.0
cp rockdev/Image-rk3399_all/* images_v1.0.0
Burn the image into Forlinx OK3399-C SBC in separate.
Note: Please don’t burn kernel.img.
2. Compile complete package of V1.0.1
Modify device/rockchip/rk3399/BoardConfig.mk
Modify the current version to 1.0.1
lunch rk3399_all-userdebug
rm out/target/product/rk3399_all/system/build.prop
make -j4
./mkimage.sh ota
make otapackage -j4
mv out/target/product/rk3399_all/rk3399_all-ota-eng.root.zip 1.0.1.zip
mv out/target/product/rk3399_all/obj/PACKAGING/target_files_intermediates/rk3399_all-target_files-eng.root.zip target_1.0.1.zip
1.0.1.zip is the complete upgrade package for testing, and target_1.0.1.zip is the basic material for making the incremental upgrade package of V1.0.2.
3. Compile incremental upgrade package of V1.0.2
Modify device/rockchip/rk3399/BoardConfig.mk
Modify the current version to 1.0.2
lunch rk3399_all-userdebug
rm out/target/product/rk3399_all/system/build.prop
make -j4
./mkimage.sh ota
make otapackage -j4
mv out/target/product/rk3399_all/obj/PACKAGING/target_files_intermediates/rk3399_all-target_files-eng.root.zip target_1.0.2.zip
make the incremental upgrade package of V1.0.2 with target_1.0.1.zip and target_1.0.2.zip
./build/tools/releasetools/ota_from_target_files -v --block \
-i target_1.0.1.zip \
-p out/host/linux-x86 \
-k build/target/product/security/testkey \
target_1.0.2.zip \
1.0.2.zip
After above compiling, get the following files:
basic image of images_v1.0.0: image of v1.0.0, which is used for burn into Forlinx RK3399 SBC.
1.0.1.zip: complete upgrade package of v1.0.1.
1.0.2.zip: Incremental upgrade package of v1.0.2.
Section 2 Local OTA upgrade
Startup Forlinx OK3399-C SBC and enter:
getprop ro.product.version to verify that the version number is 1.0.0.
Copy 1.0.1.zip to the root directory of TF card (if the TF card made as a burn card, please restore it to a normal TF card first), and rename it to update.zip. Startup the development board and insert the TF card. The system will automatically detect the upgrade file and pop up the upgrade confirmation menu, click Install. It will automatically enter the upgrade mode, do not insert or remove the TF card before the upgrade is completed.
After the upgrade is completed, it will automatically restart and prompt the upgrade is successful, ask if you want to delete the upgrade file to avoid upgrade again.
Enter getprop ro.product.version on Forlinx OK3399-C SBC to check whether the version number is 1.0.1.
Next, copy 1.0.2.zip to the root directory of TF card and rename it to update.zip. Since it is an incremental upgrade, the update.zip is only a few dozen MB. This depends on how much code is modified. Insert TF card into the development board, the same steps as the previous complete upgrade.
The system will automatically detect the upgrade file and pop up the upgrade confirmation menu, click Install. It will automatically enter the upgrade mode, do not insert or remove the TF card before the upgrade is completed.
After the upgrade is completed, it will automatically restart and prompt the upgrade is successful, ask if you want to delete the upgrade file to avoid upgrade again.
Enter getprop ro.product.version on Forlinx OK3399-C SBC to check whether the version number is 1.0.2.
Section 3 Remote OTA upgrade
1. Set up OTA upgrade server
Open the user profile of RK3399 provided by Forlinx, and copy apache-tomcat-7.0.29.zip in tool directory to Linux host/home/forlinx.
Note: If your host does not have a jdk environment, please install the jdk environment by referring to the previous chapter: set up Android application development environment and compiling.
unzip apache-tomcat-7.0.29.zip
chmod 775 -R apache-tomcat-7.0.29
cd apache-tomcat-7.0.29/webapps/OtaUpdater/WEB-INF
cat manifast.xml
The product name should be consistent with the PRODUCT_MODEL defined in device/rockchip/rk3399/BoardConfig.mk.
version name corresponds to the version before the upgrade package_path corresponds to the upgrade package path of version name.
Copy 1.0.1.zip and 1.0.2.zip to the corresponding directory:
Modify Port number: apache-tomcat-7.0.29/conf/server.xm
Startup the server
cd apache-tomcat-7.0.29/bin
./startup.sh
2. Test remote OTA upgrade
First, burn the previously backed up images_v1.0.0 image to the development board.
Enter getprop ro.product.version to verify if version number is 1.0.0.
Normally, the system will prompt to upgrade after a few seconds of startup. If there is no prompt, please enter:
getprop ro.product.ota.host to verify if the OTA upgrade server parameters are correct.
Also check if the network is connected.
Click Yes to automatically enter the upgrade process. Since it is complete upgrade, it will take some time. Please be patient.
Click Yes to delete the local upgrade package. Also check the current version: getprop ro.product.version , it should be 1.0.1.
Restart the system. Since the current version has been upgraded to V1.0.1, the system will detect the latest version 1.0.2 and prompt to upgrade.
Since it is incremental upgrade, the upgrade package is very small and the upgrade speed is relatively fast.
Click Yes to delete the local upgrade package. Check the current version:
getprop ro.product.version , it should be V1.0.2.