OKMX8MQ-C How to add devices on the SPI bus
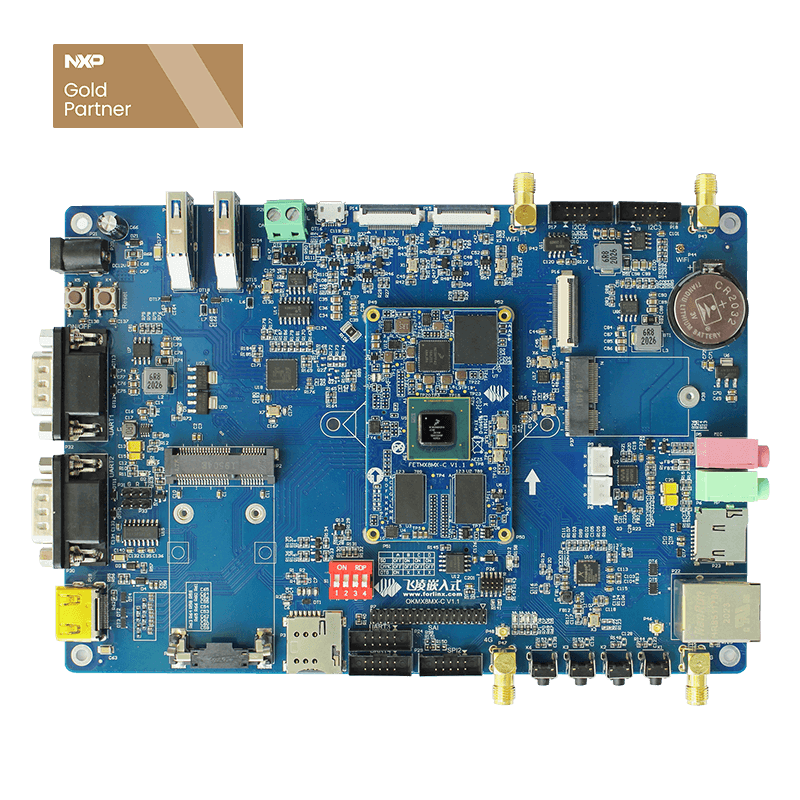
i.MX 8M Quad development board with SPI
The SPI interface device is a highly used device. When users use i.MX8MQ, they may need to add new SPI devices, either replace existing SPI devices from the current bus to another bus, or replace the selection.
For people unfamiliar with SPI drivers who may not know what actions and considerations are required to make changes, let me show you how to modify them.
First, let's look at the driving status of Forlinx OKMX8MQ-C SPI.
About the driving status of i.MX8MQ development board SPI
The driver is a bitbang way, driving the use of GPSIO as the SPI selection, rather than using the SPI controller of the original selection. i.MX8MQ's SPI controller supports 4 options, and we can add 4 picks to one SPI bus to connect 4 devices.
i.MX8MQ has 3 SPI bus, OKMX8MQ-C uses 2, SPI1 connects the device MCP2518FD, SPI2 does not connect the device, but will pin out through the socket, and the driver of option 0 uses spidev, through which the user can access the device connected to cs0 in the user space.
The i.MX8MQ core board leads to the PIN SPI3, but the pin reuse of the SPI3 on the board is not used as an SPI because of pin reuse.
Next, let's look at how to make specific changes to the SPI driver.
01- Modify the gpio of CS
Modify the spi2 cs0 using gpio, from gpio5-13 to gpio3-19, modify the device tree OK8MQ-linux-kernel/arch/arm64/boot/dts/freescale/ok8mq-evk .dts, find node s ecspi2, modify cs-gpios s < s gpio5 13 0 >, to cs-gpios s < sgpio3 19 0 >.
You need to make sure that the pinmux of this pin of the gpio3-19 you are using is a GPIO feature, and if not, you need to modify it to GPIO.
Comparison before and after code modification:
Before the modification:
After modification:
02- Modify the spi device node
For example, change the cs0 of spi2 from the original spidev driver to mcp2518fd drive:
Modify the device tree OK8MQ-linux-kernel/arch/arm64/boot/boot/dts/freescale/ok8mq-evk.dts, find the node s/ecspi2, delete its next spidev@0 node, add mcp2518fd@0 node, the features that need to be added under this node need to be added according to the drive of this device, which is required by the driver of this spi device.
Comparison before and after code modification:
Before the modification:
After modification:
03- Add an SPI device
Add a spidev device to the spi2 and use the selected gpio3-19:
Add an excerpt:
Modify the device tree OK8MQ-linux-kernel/arch/arm64/boot/boot/dts/freescale/ok8mq-evk.dts, find node s ecspi2, change cs-gpios s < sgpio5 13 0 >, modify to cs-gpios s < sgpio5 13 0 >, < gpio3 19 0 >.
Add the spidev device node:
Continue to modify the node just now, adding the spidev node under the node with a reg value of 1
Test:
Using spidev_test program, spidev_test -D /dev/spidev1.0 test film selection 0, spidev_test -D /dev/spidev1.1 test film selection 1, the test is using an oscilloscope to measure the corresponding GPIO, GPIO will maintain a certain period of time low level, indicating that the film selection is selected.
Comparison before and after code modification:
Before the modification:
After modification:
We've just described how to add an existing SPI device driver to the SPI bus, not a way to modify the SPI device's own driver.
Some SPI device function is very simple, only need to implement a few operations on the line, some SPI device function implementation is very complex, docking Linux drive interface, need a lot of spi operation to achieve function.
In the case of complex devices, the driver can only be provided by the chip manufacturer. For example, the mcp2518fd device node.
When we add this node, there must be already a 2518fd driver, adding nodes only need to be based on the hardware principle of the connection method, it is added to the corresponding selection, and its properties in the chip provides a driving routine have corresponding examples, only need to be added to the node.
Summary:
When faced with a complex device, if you don't have a driver, the first thing you need to do is find the driver, add the driver, and then add the device on the SPI bus, compile the mirror debug the device.
For simple-function SPI devices, you can use the spidev driver to do this at the user level with just a few simple SPI operations, without the need for a dedicated driver.
For example, an SPI interface ADC chip, only need 1 SPI read and write operation can enable the ADC to complete the conversion and read the conversion value of the operation, the user layer opens the spidev device node, after the configuration is completed, read the ADC value, according to the ADC manual, perform an SPI transmission operation.


