System setup for Forlinx Embedded iMX8MP Platform
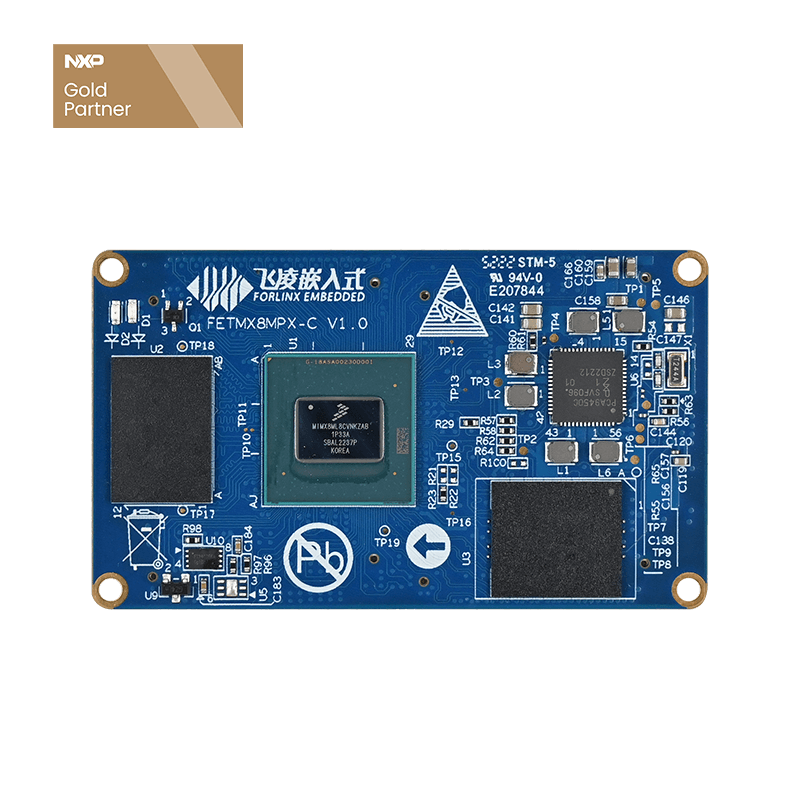
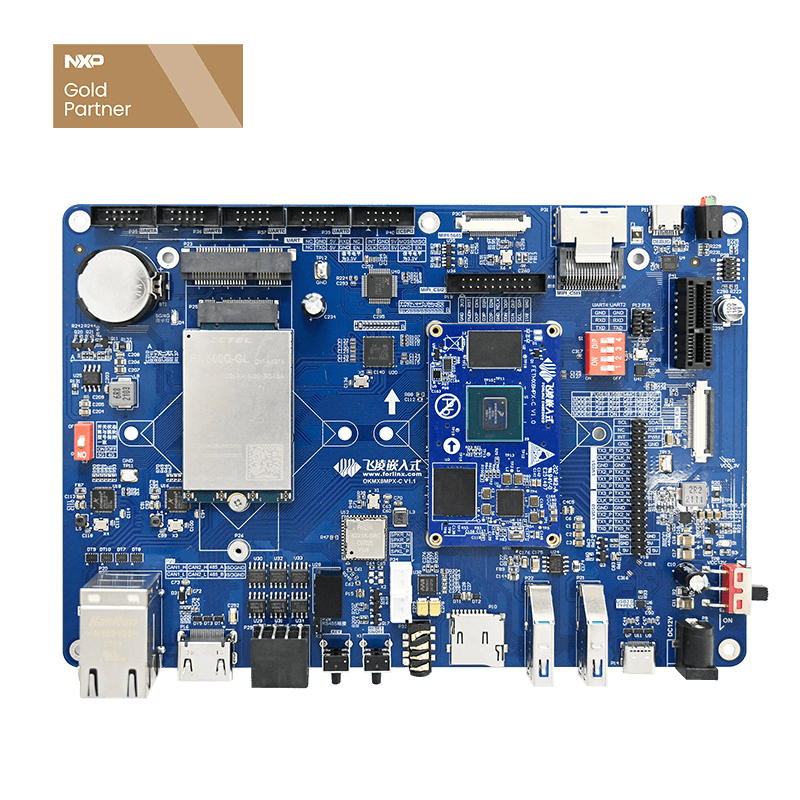
The hardware board used in this article is Forlinx embedded OKMX8MP-C development board, and the system version is Linux 5.4.70+Qt5.15.0. Let's start with a brief introduction to this board.
OKMX8MP-C SBC is based on the NXP i.MX 8M Plus processor, which focuses on machine learning and vision, advanced multimedia, and industrial automation with high reliability. It aims to meet the needs of smart city, industrial Internet, intelligent medical treatment, intelligent transportation, and other applications.
i.MX8M Plus features
- 1. High-performance NPU 2.3 TOPS hash rate (mega-level operation per second)
- 2. Quad-core Arm Cortex-A53 subsystem with a clock frequency of up to 2GHz
- 3. Cortex-M7-based independent real-time subsystem with a main frequency of up to 800MHz
- 4. High-performance 800MHz audio DSP for speech and natural language processing
- 5. Dual camera image signal processor (ISP)
- 6. 3D GPU for rich graphics rendering
1. iMX8M Plus SBC, How to replace the Logo?
In the OKMX8MPQ-C's u-boot stage can already display the LOGO image on the LCD. If you need to replace the LOGO, please replace: OK8MP-SDK/images/boot/logo.bmp
Requires a 24-bit BMP format image with a resolution of 1024x600.
2. iMX8M Plus SBC power-up self-start program setting method
- Taking Forlinx Embedded iMX8MP platform as an example, here is a method of using system to configure arbitrary boot-on auto-starters.
- Power up OKMX8MPQ-C, enter the /home/root/directory in the board terminal, execute the following command to create a script file, and modify the permissions:
- root@OK8MP:~# echo '#!/bin/sh' >> /etc/autorun.sh
- root@OK8MP:~# echo 'gst-play-1.0 /media/forlinx/test.mp3' >> /etc/autorun.sh
- root@OK8MP:~# chmod 777 /etc/autorun.sh
Go to the "/lib/systemd/system/" directory and create a new autorun.service file, the command is as follows:
root@OK8MP:~# cd /lib/systemd/system
root@OK8MP:~# vi autorun.service
The contents of the file are as follows:
[Unit]
Description=autorun
After=basic.service X.service thermal-zone-init.service
[Service]
ExecStart=/etc/autorun.sh
[Install]
WantedBy=multi-user.target
Where the Scription line needs to write the service name, ExecStart needs to write the absolute path to the executable file.
After saving and exiting, execute the following command on the terminal:
root@OK8MP:~# systemctl -f enable /lib/systemd/system/autorun.service
At this point, the newly added self-start service can take effect, and after restarting the iMX8MP development board, the program can run automatically and the audio output is successful.
3. How to change the iMX8MP development board display desktop status bar
iMX8MP development board boot by default, the weston desktop top display time information status bar is set to hidden, if you need to show it, you can follow the method below to set.
If you have the need to display a full-screen app, you can modify it as follows to hide the top status bar. On the iMX8MP development board, enter the following command in the iMX8MP board terminal to open the weston configuration file:
root@OK8MP:~# vi /etc/xdg/weston/weston.ini
- Modify the contents of the file as follows:
- [shell]
- locking=false
- panel-position=top
4. iMX8M Plus development board screen calibration
OKMX8MPQ-C board uses capacitive touch by default and has the calibration procedure turned on, if you need to recalibrate, please execute the following command to delete the calibration file and restart iMX8MP SBC.
root@OK8MP:~# rm /etc/udev/rules.d/cal.rules
root@OK8MP:~# sync
If your screen does not need to be calibrated, you can turn off the calibration service by executing the following command.
root@OK8MP:~# systemctl disable cal
You can also execute the following command to enable the calibration service.
root@OK8MP:~# systemctl enable cal