How to Add OKMX8MM-C SBC UBOOT Display Support?
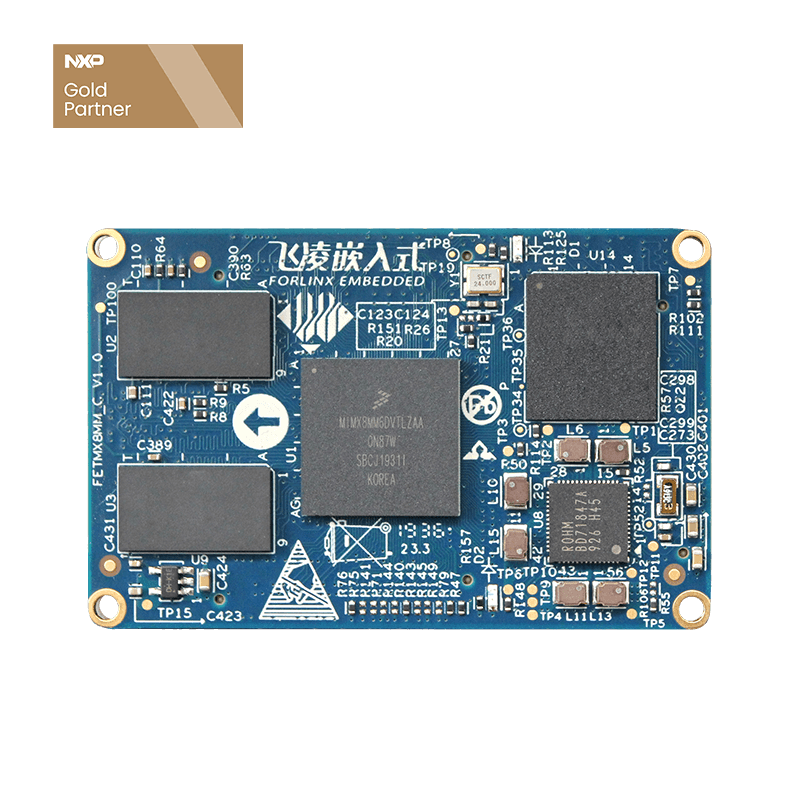
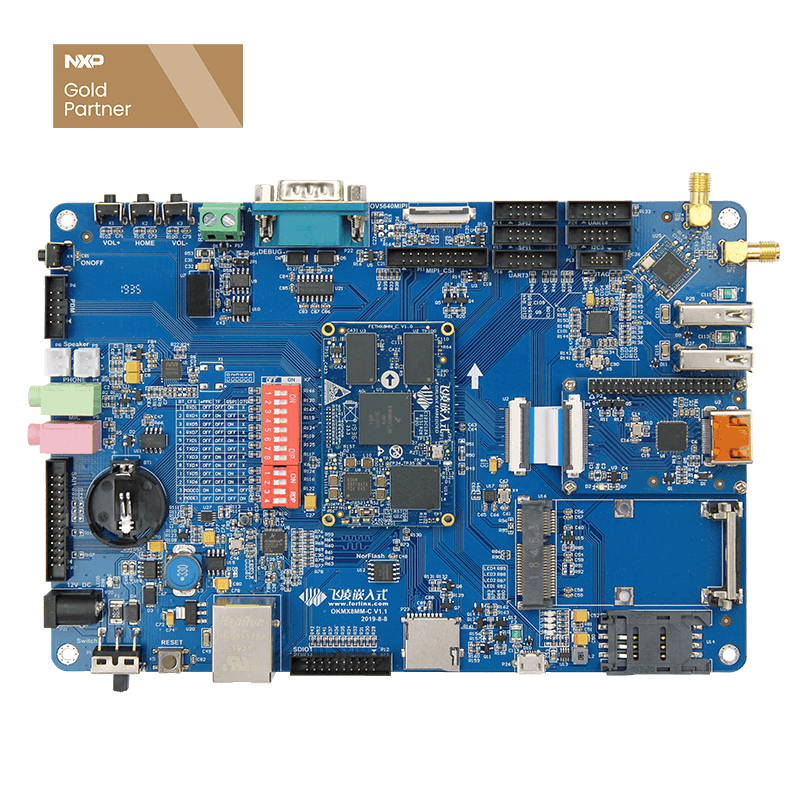
OKMX8MM-C SBC is based on NXP's i.MX8M Mini quad-core 64-bit processor design, using SoM + backplane structure, clock frequency up to 1.8GHz, Cortex-A53 architecture; 2GB DDR4 RAM, support for a general purpose Cortex®-M4 400MHz core processor provides a variety of peripheral interfaces, such as MIPI-CSI, MIPI-DSI, USB, PCIe, UART, eCSPI, IIC and Gigabit Ethernet. This article mainly explains OKMX8MM-C development board platform uboot to add new display support.
First, MIPI interface can be connected to the display device
OKMX8MM-C SBC has only one MIPI DSI display interface, which can connect the MIPI display, and LVDS display or HDMI display through MIPI to LVDS module.
Among them, the MIPI display is also divided into those that need to be configured and not need to be configured.
1. Mipi screen that does not need to be configured
The display of MIPI interface is divided into MIPI screens that require DSI to enter command mode configuration and MIPI screens that do not need to be configured. MIPI screen does not need to be configured is relatively simple, as long as the MIPI DSI interface normal output signal can be displayed normally, Forlinx embedded OKMX8MM-C single board computer provided 1024x600 resolution 7-inch MIPI screen is a MIPI screen that does not need to be configured, it works in 4lanes high-speed mode by default, only need to configure the display related modules in the CPU, and let it start working, MIPI screen can be displayed normally.
2. MIPI screen that needs to be configured
MIPI screen that needs to be configured, DSI interface needs to enter the command mode to configure the display before outputting the display signal, and the configuration parameters are generally provided by the screen manufacturer. The OLED screen RM67191 used in the NXP i.MX8MM evaluation kit is a MIPI display that needs to be configured.
3. MIPI to LVDS and HDMI module
This module converts MIPI signals into LVDS or HDMI signals, and through this module it is possible to connect LVDS displays or HDMI displays. MIPI to LVDS & HDMI module needs to be transferred through I2C configuration, the display parameters and other information containing the corresponding display screen is configured into the chip, and then the MIPI interface outputs the corresponding display signal.
Second, the LOGO display of the UBOOT stage
OKMX8MM-C SBC is added by default
- 1024x600 7 inch screen (MIPI7);
- Custom 7MIPI display (MIPICUSTOM);
- MIPI to HDMI 1920x1080 (MIPI2HDMI1920x1080);
- 1280x720 (MIPI2HDMI1280x720);
- 640x480 (MIPI2HDMI640x480);
- 10.1 inch 1280x800LVDS display (MIPI2HDMI1280x800);
- Custom MIPI to LVDS (MIPI2HDMICUSTOM).
We intercepted the complete display parameters of MIPI7 and MIPI2HDMI_1280x720, corresponding to the direct connection of THE MIPI screen and the connection of LVDS or HDMI display through the MIPI to LVDS & HDMI module.
1. How to select display parameters
The UBOOT stage can determine which set of display parameters to use by reading the value of the UBOOT environment variable panel, which can be set by the UBOOT command line or the UBOOT menu, and the method can refer to the user manual provided by Forlinx Embedded. UBOOT code by determining which set of parameters of the model field name value and panel value are equal to which set of parameters, for example, the value of the panel is equal to MIPI7, then it will select the set of display parameters corresponding to MIPI7, that is, the 1024x600 resolution 7-inch MIPI screen provided by Forlinx Embedded.
2. What do custom parameters mean?
When we debug the display, we need to modify the parameters in the display parameter structure corresponding to the panel, and the custom parameters refer to the parameters in the display parameter structure that can be set by setting the environment variables on the UBOOT command line. The usage of custom parameters is that the value of the panel is set to MIPI2HDMI_CUSTOM or MIPI_CUSTOM, and the code reads the environment variable customvideomode, and then parses the values of parameters such as xres and yres to display the parameters in the parameter structure, such as xres and yres, and its code is implemented as follows.
Third, UBOOT added display debugging
When UBOOT adds a new display, first confirm what type of display is added, and then debug the different displays.
1. MIPI to LVDS and HDMI module
MIPI to LVDS and HDMI modules, the conditions for normal display are:
- Display the display parameters of the current display screen configured in the structure;
- I2C issues the correct configuration parameters to the adapter module.
The configuration parameters that I2C needs to issue are calculated by display parameters, so when LVDS or HDMI display is connected, only the display parameters need to be configured correctly to make UBOOT display the LOGO normally.
The code provided by Forlinx Embedded already supports four resolutions of 640x480, 1280x720, 1920x1080, 1280x80 by default, if you choose a display with these resolutions, you can display it directly through the menu (LVDS interface resolution up to 1280x800).
If you want to add other resolutions of the display, Forlinx Embedded provides a set of parameters that can be customized display, just need to set the value of the panel to "MIPI2HDMICUSTOM", and then set the environment variable customvideo_mode, modify the xres, yres and other values you need to save the environment variables, restart the detection of whether the LOGO can be displayed. The newly set display parameters can be seen during the startup process to facilitate verification of the success of the modification.
2. Mipi display without configuration
No need to configure the MIPI screen, only need to modify the display parameters to display the LOGO normally. Forlinx embedded single board computer default support resolution of 1024x600 display, if you need to add a new type of display, Forlinx embedded provides a set of parameters that can be customized display, just need to set the value of the panel to "MIPICUSTOM", and then set the environment variable customvideo_mode, modify the xres, yres and other values you need to save the environment variables, restart the detection of whether the LOGO can be displayed. The newly set display parameters can be seen during the startup process to facilitate verification of the success of the modification.
3. MiPI display that needs to be configured
This display is one step more than the MIPI display that does not need to be configured, and can be modified with reference to the RM67191 provided by the original factory.
First, add a set of display parameters, the display parameters are modified according to the display, modify the file board/freescale/imx8mmevk/imx8mmevk.c.
Then modify the enable function for this set of parameters
Modify the display driver drivers/video/rm67191.c, add your own screen initialization sequence in the function int rm67191lcdsetup (struct mipidsiclientdev *paneldev).
Compile the test after the modification is complete.
Note: The uboot code is not open source, and you need to contact the salesperson to modify the code