How To T507 SPI to CAN?
Allwinner T507 processor itself does not support CAN function, so what method can realize CAN function?
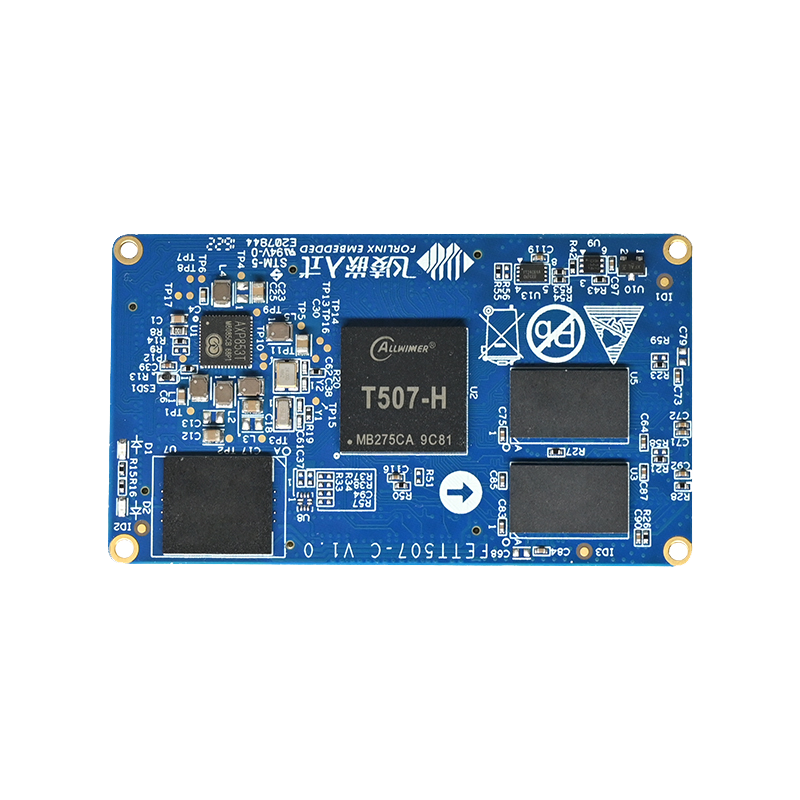
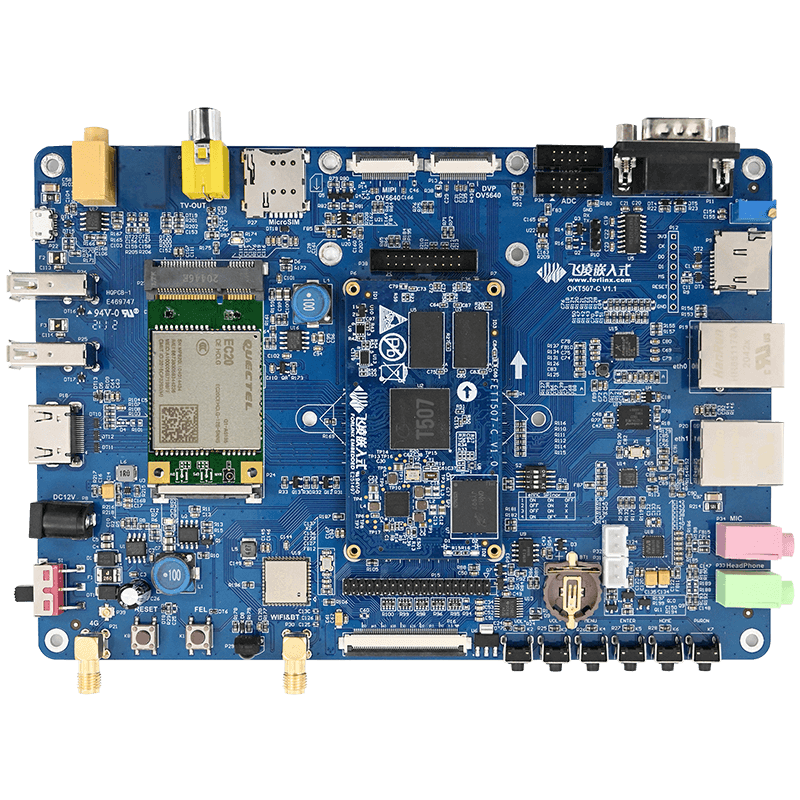
The FETT507-C SoM supports the SPI interface, but the bottom plate does not lead to this interface, so the editor intends to use the pin multiplexing method to multiplex the SPI interface and make SPI to CAN to realize the CAN function.
The method used in this article is to realize the SPI to CAN function by adding the MCP2515 driver and configuration.
1. Select the pin
First, confirm the pins to be used. Since the development board is not configured with SPI by default, it is necessary to select both the pins for the SPI function and the interrupt pins for the can module.
The SPI requires four pins, CS0, CLK, MOSI, and MISO, and the can module requires an interrupt pin. The interrupt pin can use any pin with interrupt function. Open the FETT507-C system on module pin multiplexing comparison table in the hardware information, first confirm which pins can be used as SPI, we can search for SPI to find two sets of pins
| Pin | Default function | SPI function |
| PC0 | SPI0-CLK | SPI0_CLK |
| PC2 | SPI0-MOSI | SPI0_MOSI |
| PC3 | BOOT-SEL1 | SPI0_CSO |
| PC4 | BOOT-SEL2 | SPI0_MISO |
| PH5 | 12S3-MCLK | SPI1_CSO |
| PH6 | 12S3-BCLK | SPI1_CLK |
| PH7 | 12S3-LRCK | SPI1_MOSI |
| PH8 | 12S3-DOUTO | SPI1_MISO |
Because PC3, PC4 and startup are not considered to use SPI0 here, we use SPI1, the pins used by SPI1 default to the pins used by the audio interface, and the audio will not be used. So our interrupt pin is also selected from the pins used by audio, we choose PH9 (the user can choose the pin with interrupt function according to the actual situation).
The pins we need have been determined (the bold 5 pins), now make software modifications
2. Related equipment
First check the device tree. The device tree used this time is as follows:
kernel/linux-4.9/arch/arm64/boot/dts/sunxi/OKT507-C-Common.dtsi
kernel/linux-4.9/arch/arm64/boot/dts/sunxi/sun50iw9p1.dtsi
kernel/linux-4.9/arch/arm64/boot/dts/sunxi/sun50iw9p1-pinctrl.dtsi
kernel/linux-4.9/arch/arm64/boot/dts/sunxi/sun50iw9p1-clk.dtsi
3. Remove the original configuration of the selected pin
As can be seen from the core board pin function multiplexing table, the originally configured functions of the selected pins are:
sun50iw9p1-pinctrl.dtsi searches for the PH5 pin, you can see that ahub_daudio3_pins_a and ahub_daudio3_pins_b are used for audio, use grep "ahub_daudio3_pins_a" ./ -nr command in the device tree path to find out, there are calls in sun50iw9p1.dtsi:
Open sun50iw9p1.dtsi, you can see that there is a call on the ahub_daudio3 node, set the status to disabled (the default is disabled state)
If disabled in this device tree, continue to find the upper-level device tree of the device tree: OKT507-C-Common.dtsi. OKT507-C-Common.dtsi has been set to open, you need to turn off ahub_daudio3, status= "disabled". The occupation of PH5, PH6, PH7, PH8 and PH9 has been lifted.
4. Configure SPI1
4.1 Enable SPI1 configuration
Search for SPI1 related content, you can see it in sun50iw9p1.dtsi
This is the registration of SPI1, the status is changed to okay, and the related pins and clocks are configured here.
4.2 Clock and pin configuration of SPI1
Clock: We can see the contents of clk_pll_periph0 and clk_spi1 by looking at sun50iw9p1-clk.dtsi, we can use the default configuration. No more pictures here, you can check it yourself
Pins: We can see the contents of spi1_pins_a, spi1_pins_b and spi1_pins_c by looking at sun50iw9p1-pinctrl.dtsi. The pins used are PH5, PH6, PH7, PH8.
5. configure SPI to CAN device
5.1 Add device
Add SPI to CAN related nodes after the SPI0 node in OKT507-C-Common.dtsi, and the content is as follows:
spi1: spi@05011000 {
  pinctrl-0 = <&spi1_pins_a &spi1_pins_b>;
  pinctrl-1 = <&spi1_pins_c>;
  spi_slave_mode = <0>;
  status = "okay";
    can0: can@0 {
      compatible = "microchip,mcp2515";
      pinctrl-names = "default";
      pinctrl-0 = <&mcp2515_int>;
      reg = <0>;
      spi-max-frequency = <1000000>;
      clocks = <&clk_osc8m>;
      interrupt-parent = <&pio>;
      interrupts = <PH 9 IRQ_TYPE_LEVEL_LOW>;
      status = "okay";
    };
};
Among them, the interrupt pin configuration, please modify it according to the actual configuration pins.
5.2 Clock Configuration
We used the clock and interrupt pins when registering the can. When the audio was turned off earlier, the PH9 was ready to use, but the 8M clock clk_osc8m we used has not been registered.
Open sun50iw9p1-clk.dtsi, add clk_osc8m under clk_osc48m
clk_osc8m: osc8m {
  #clock-cells = <0>;
  compatible = "allwinner,fixed-clock";
  clock-frequency = <8000000>;
  clock-output-names = "osc8m";
};
If you choose a 24M crystal oscillator, you can also register clk_osc24m and change the clock-frequency to 24000000
5.3 Interrupt Pin Configuration
Add in OKT507-C-Common.dtsi, search in the device tree: pio:pinctrl@0300b000, and add the following configuration to the node.
mcp2515_int: can0@0 {
  allwinner,pins = "PH9";
  allwinner,pname = "mcp2515_int";
  allwinner,function = "irq";
  allwinner,muxsel = <6>;
  allwinner,drive = <1>;
  allwinner,pull = <0>;
};
5.4 mcp2515 driver configuration
At this point, our modification in the device tree has been completed. Next, we add the mcp2515 driver configuration, the driver is located in kernel/linux-4.9/drivers/net/can/spi/, you can see mcp251x.c, we can open this directory Makefile in the Makefile, CONFIG_CAN_MCP251X has been configured in the Makefile
Enter the kernel/linux-4.9 directory and execute the following command:
make sun50iw9p1smp_longan_defconfig
make menuconfig ARCH=arm64
Enter the graphical configuration interface, we add the compilation of mcp2515, and select the following options for each level of directory:
[*] Networking support  --->
  <*>CAN bus subsystem support  --->
    CAN Device Drivers  --->
      CAN SPI interfaces  --->
        <*> Microchip MCP251x SPI CAN controllers
The content in the preceding parentheses is modified by the space bar, "*" means to compile into the kernel, "M" means to compile into a module, and empty means not to compile. It needs to be compiled into the kernel here
After the modification is completed, press the Esc key to exit, and finally select yes to save the configuration as .config.
After the modification is completed, compile the source code according to the manual, and generate an image
- After configuring menuconfig, save it as .config, use ./build.sh kernel to compile the kernel in one step, the .config will be used
- If ./build.sh is used for full compilation, sun50iw9p1smp_longan_defconfig will be reloaded as .config, and the previous configuration will not take effect. Therefore, after the modification through menuconfig, the saved .config should be backed up. Before full compilation, you need to rename the file to sun50iw9p1smp_longan_defconfig and replace the file of the same name under kernel/linux-4.9/arch/arm64/configs
Note:
6. CAN test
Burn the compiled image to the core board, and copy the relevant test tools in the data: ip, cansend and candump to the root directory of the single board computer.
The hardware is connected to the SPI to CAN module, connected to the PC, and plugged into the computer using the USB to CAN
Start the development board and execute the following program to test:
ifconfig can0 down
/ip link set can0 up type can bitrate 125000 triple-sampling on
ifconfig can0 up
/cansend can0 123#12345678     //send data
/candump can0                  //send data
7. hardware modification method
Transplant using SPI to CAN module on OKT507-C development board
First, remove the two devices C132/U18 from the development board, and then connect the SPI to CAN module to the development board through flying wires. The connection method is as follows:
| SoM signal name | SPI to CAN | Pic 1 Flying wires position | Pic 2 Flying wires position |
| B14 PH-12S3-MCLK | SPI1_CS0 | 11:NetC133_2 | 3 SPICS_3V3 |
| A13 PH-12S3-BCLK | SPI1_CLK | 12:NetC132_2 | 1 SPICLK_3V3 |
| E12 PH-12S3-LRCK | SPI1_MOSI | 13:E12PH-12S3-LRCK | 8 SPIMOSI_3V3 |
| B11 PH-12S3-DOUT0 | SPI1_MISO | 14:B11 PH-12S3-DOUT0 | 10 SPIMISO_3V3 |
| C11 PH-12S3-DIN0 | PH_EINT9 | 16:C11 PH-12S3-DIN0 | 2 INT_3V3 |
The 5V main power supply from SPI to CAN can be obtained through R194 and R199 directly below the audio chip, as shown in the figure below:


