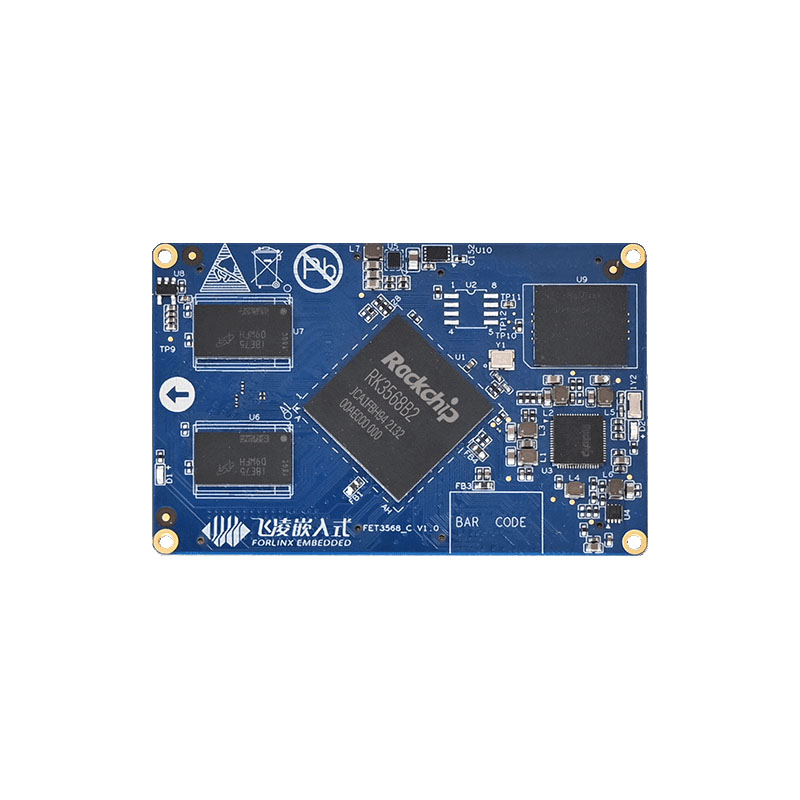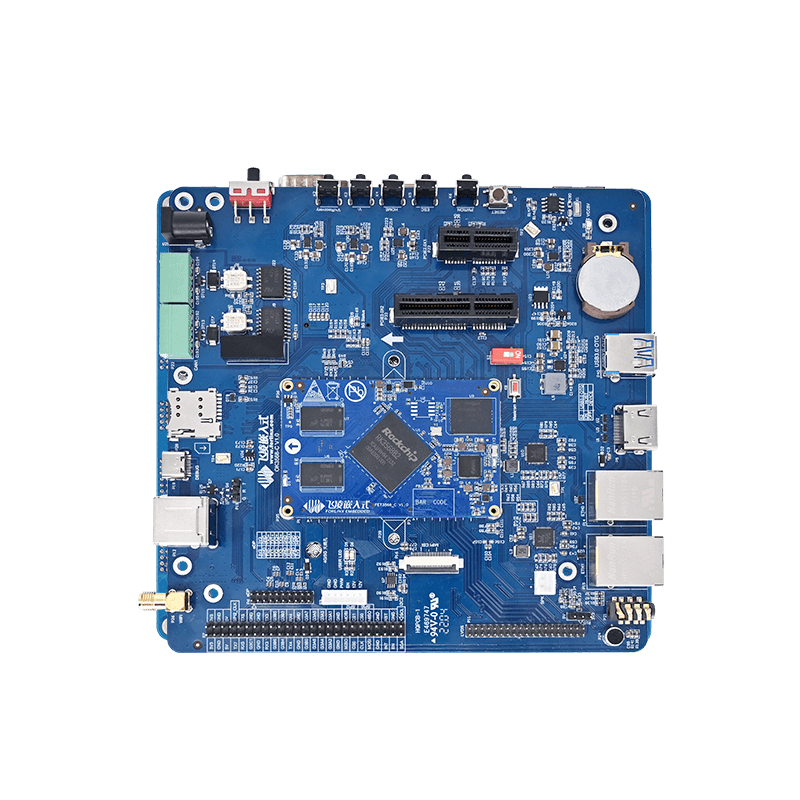
Tutorial on Linux OTA Upgrade Process for Forlinx OK3568-C Development Board
The two most commonly used programming systems for development boards are OTG and SD card programming systems. This article explains how to implement the OTA upgrade of the development board, thus solving the problem that the new features developed by customers cannot be immediately deployed to the products. OTA (Over-the-Air) is the technology of downloading over the air. OTA upgrade is the standard software upgrade method provided by the Android system. It has powerful functions and can upgrade the system without loss.
It mainly downloads the OTA upgrade package automatically via the network, such as WIFI, 3G/4G. It also supports upgrading by downloading the OTA upgrade package to the SD card/USB flash drive. The size of the OTA upgrade package can be freely packed according to requirements. This article mainly describes the OTA upgrade process, the process and technical details of the local upgrade program recovery executing the upgrade on the Rockchip platform RK3568.
Step 1: Create recovery.img
Note: (The default image of the development board already supports and has flashed the recovery.img file. You can skip this step.)
The source code path related to recovery:
buildroot/output/OK3568-recovery/build/recovery-develop
If the source code files in the above directory have been modified, the following operations need to be performed.
- 1. forlinx@ubuntu:~/OK3568-linux-source$ source envsetup.sh
- 2. Select the recovery configuration for a platform and enter 96
- 3. Recompile recovery and rkupdate
forlinx@ubuntu:~/OK3568-linux-source$ make recovery-dirclean && make recovery		# Clear the compilation product and recompile it
forlinx@ubuntu:~/OK3568-linux-source$ make rkupdate-dirclean && make rkupdate		# Clear the compilation product and recompile it
If the source code files in the above directories have not been modified, directly execute the following operations:
forlinx@ubuntu:~/OK3568-linux-source$ ./build.sh recovery 							#Compile and generate recovery.img
forlinx@ubuntu:~/OK3568-linux-source$ ./mkfirmware.sh 							#Copy the generated firmware to the rockdev/directory
Flash/OK3568-linux-source/buildroot/output/OK3568-recovery/images/recovery.img file.
Click the device partition table, check 9, select the recovery path, and click Execute.
Step 2: Create the upgrade image
How to verify the successful upgrade? First, a preliminary understanding of the boot.img file: it contains the device tree and the kernel. Therefore, appropriate modifications to either the device tree or the kernel can be made. In this example, the boot.img file is updated by making suitable changes to the device tree.
Modify the device tree file at /OK3568-linux-source/kernel/arch/arm64/boot/dts/rockchip/OK3568-C-common.dtsi, and make the following changes to the forlinx_control node. By default, enable only HDMI output, and disable MIPI and LVDS outputs.
Modify the /OK3568-linux-source/tools/linux/Linux_Pack_Firmware/rockdev/package-file as needed. In this example, to update boot.img, other .img files are commented out. The file can be adjusted according to product update requirements.
In this example, a display-related modification in the device tree is used as an upgrade test. After modifying the device tree, recompile the kernel.
forlinx@ubuntu:~/OK3568-linux-source$ ./build.sh kernel 			#After modifying the device tree, recompile the kernel.
forlinx@ubuntu:~/OK3568-linux-source$ ./build.sh updateimg  		#Package the upgrade firmware.
Note: If uboot or buildroot has been modified, execute the following commands before performing the packaging operation.
forlinx@ubuntu:~/OK3568-linux-source$ ./build.sh uboot				#After modifying the device tree, recompile the kernel.
forlinx@ubuntu:~/OK3568-linux-source$ ./build.sh buildroot 			#After modifying the device tree, recompile the kernel.
forlinx@ubuntu:~/OK3568-linux-source$ ./build.sh updateimg  		#Package the upgrade firmware.
Note: If the compilation fails, it is due to the absence of related image files in /OK3568-linux-source/rockdev/. After compiling the image, copy it to the /rockdev directory.
Use the /OK3568-linux-source/rockdev/update.img file for the upgrade.
Step 3: Upgrade operation
Upgrade via SD card or USB flash drive:
The SD card or USB flash drive is mounted to the /run/media directory by default. Copy the update.img image file to the /userdata directory of the development board.
Copy the upgrade package to the development board: cp /run/media/sda1/update.img /userdata/
Execute the following command for the upgrade: update ota /userdata/update.img
After the upgrade is completed, the /userdata/update.img file on the development board will be automatically deleted.
Upgrade via FTP server:
Execute the following commands on the development board side to copy the upgrade package file from the server to the development board for the upgrade.
[root@ok3568:/]# scp [email protected]:/home/forlinx/OK3568-linux-source/rockdev/update.img /userdata/
The authenticity of host '172.16.0.127 (172.16.0.127)' can't be established.
ECDSA key fingerprint is SHA256:JIs8invbNKtuOUmXhEAuV4Dv2toNuP91U3UQRgQ7kJE.
Are you sure you want to continue connecting (yes/no)? yes
Warning: Permanently added '172.16.0.127' (ECDSA) to the list of known hosts.
[email protected]'s password: forlinx
[root@ok3568:/]# ls /userdata
OpenCV lost+found media model recovery update.img
After the download is completed, use the following command for the upgrade:
update ota /userdata/update.img
During the upgrade process, the device will enter the recovery mode and perform an automatic upgrade. The following display will appear during the upgrade:
After the upgrade is successful, it will enter the normal system.
Test Result
Phenomenon after flashing the default factory image file: By default, the HDMI, MIPI, and LVDS outputs are all enabled.
Phenomenon after flashing the upgrade package image file: Only the HDMI display is enabled, and the other two outputs are disabled.
Precautions:
When packaging the update.img firmware, note that the upgrade firmware can be packaged for all partitions or partially. Modify the package-file to remove the partitions that do not need to be upgraded, which can reduce the size of the upgrade package (update.img).
If the recovery.img in the package-file is packaged, it will not be upgraded in the Recovery mode. To prevent the problem that other partitions cannot be upgraded normally due to power failure during the upgrade of recovery.img, the upgrade of this partition is carried out under the normal system. That is, when the update command is executed, it will first check whether the recovery.img is packaged in the update.img upgrade package. If so, it will upgrade the recovery partition and then enter the Recovery mode to upgrade the firmware of other partitions.
It is not recommended to package the misc partition into the update.img. Even if it is packaged, it will be ignored after being detected by the upgrade program. Even if the misc partition is upgraded, the recovery program will still clear all commands and parameters in the misc partition after the upgrade is successful, resulting in the failure to achieve the expected result.
If the update.img upgrade package is placed in the userdata partition of the flash, it is necessary to ensure that the userdata.img is not included in the package-file, because it may cause damage to the file system, and the oem or userdata partition may fail to be mounted after the upgrade is successful. When upgrading from an SD card or USB flash drive, the userdata.img can be packaged to upgrade the userdata partition. After the upgrade is completed, a resize operation will be performed on the userdata partition.
The upgrade fails when the development board is not connected to a screen:
If there is a screen, connect it and then perform the OTA upgrade.
If the device has no screen, add the configuration BR2_PACKAGE_RECOVERY_NO_UI=y to the /OK3568-linux-source/buildroot/configs/OK3568-recovery_defconfig. After compiling and flashing, perform the OTA upgrade.
The OTA upgrade process has been explained. Users can first follow the steps in this article, then modify the U-Boot, kernel, or file system, and use OTA to remotely upgrade products, fixing bugs and enabling easier product optimization and updates.


